
 Greetings all! :D Here is my in-depth look for how I made my high-waisted 'tree branch' skirt.
This is an original steampunk-lolita inspired outfit. I tried to make it a bit subtler than some lolitas, less frills, a bit more mature looking. The steampunk elements lie in the jewellery and the colour scheme. Lots of creams and browns.
The skirt I handmade, the top is actually a dress that I bought in London at Lily J. (And I take no credit in making it obviously.)
The wig I bought online for the outfit. It is a very fun wig to wear. Not styled in any way. I love the curls. :D
I plan on jazzing this costume up a bit for future wears. I plan to add a petticoat to give the skirt more volume and possibly a hat. :D

(Notice how I made things easier for myself here: with 5 panels I can have both my zipper not put in on a curve, and no seam in the center front.)


I had limited fabric for this project. Here is my original concept sketch, along with all the math behind this skirt. Because I had such limited amounts of fabric, I had to plan out how I would use the fabric so that I could make the most of it, and not end up short.


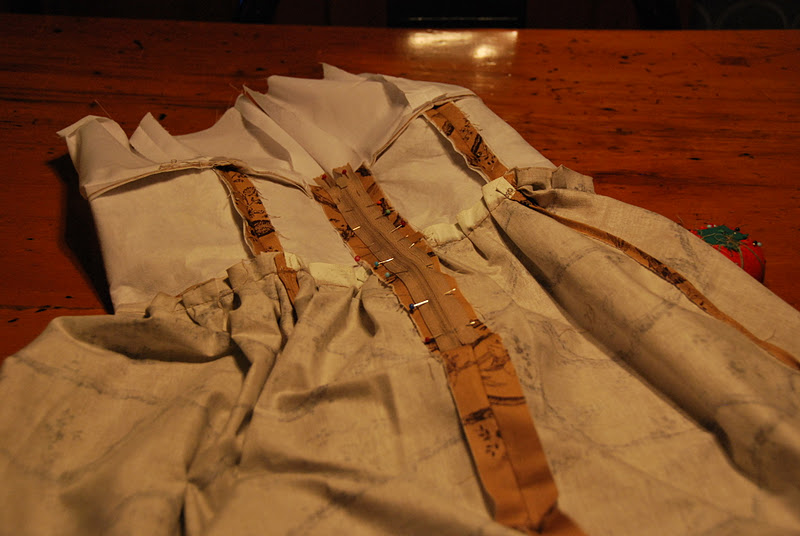
Finishing all my seams...


The backs seam was then closed and a zipper basted into the back before getting machine stitched.

Next the inner lining was tacked down and ditch-stitched into place.


Special thanks to Mike Kowalek of Eleventh Photograph for the awesome photoshoot! Click here for more pics! :D


Dress came out good, I love the wig too!
ReplyDelete