
 Time to talk about the shirt for this costume! Part 4 of my Asuna (Knight) tutorials. To see how I made the skirt, wig and sword check out their respective pages. To see the rest of my photoshoot with Eleventh Photograph go here!
So the bodice was started after the skirt was well on its way, because I
had to ensure the length looked good proportionately with the skirt.
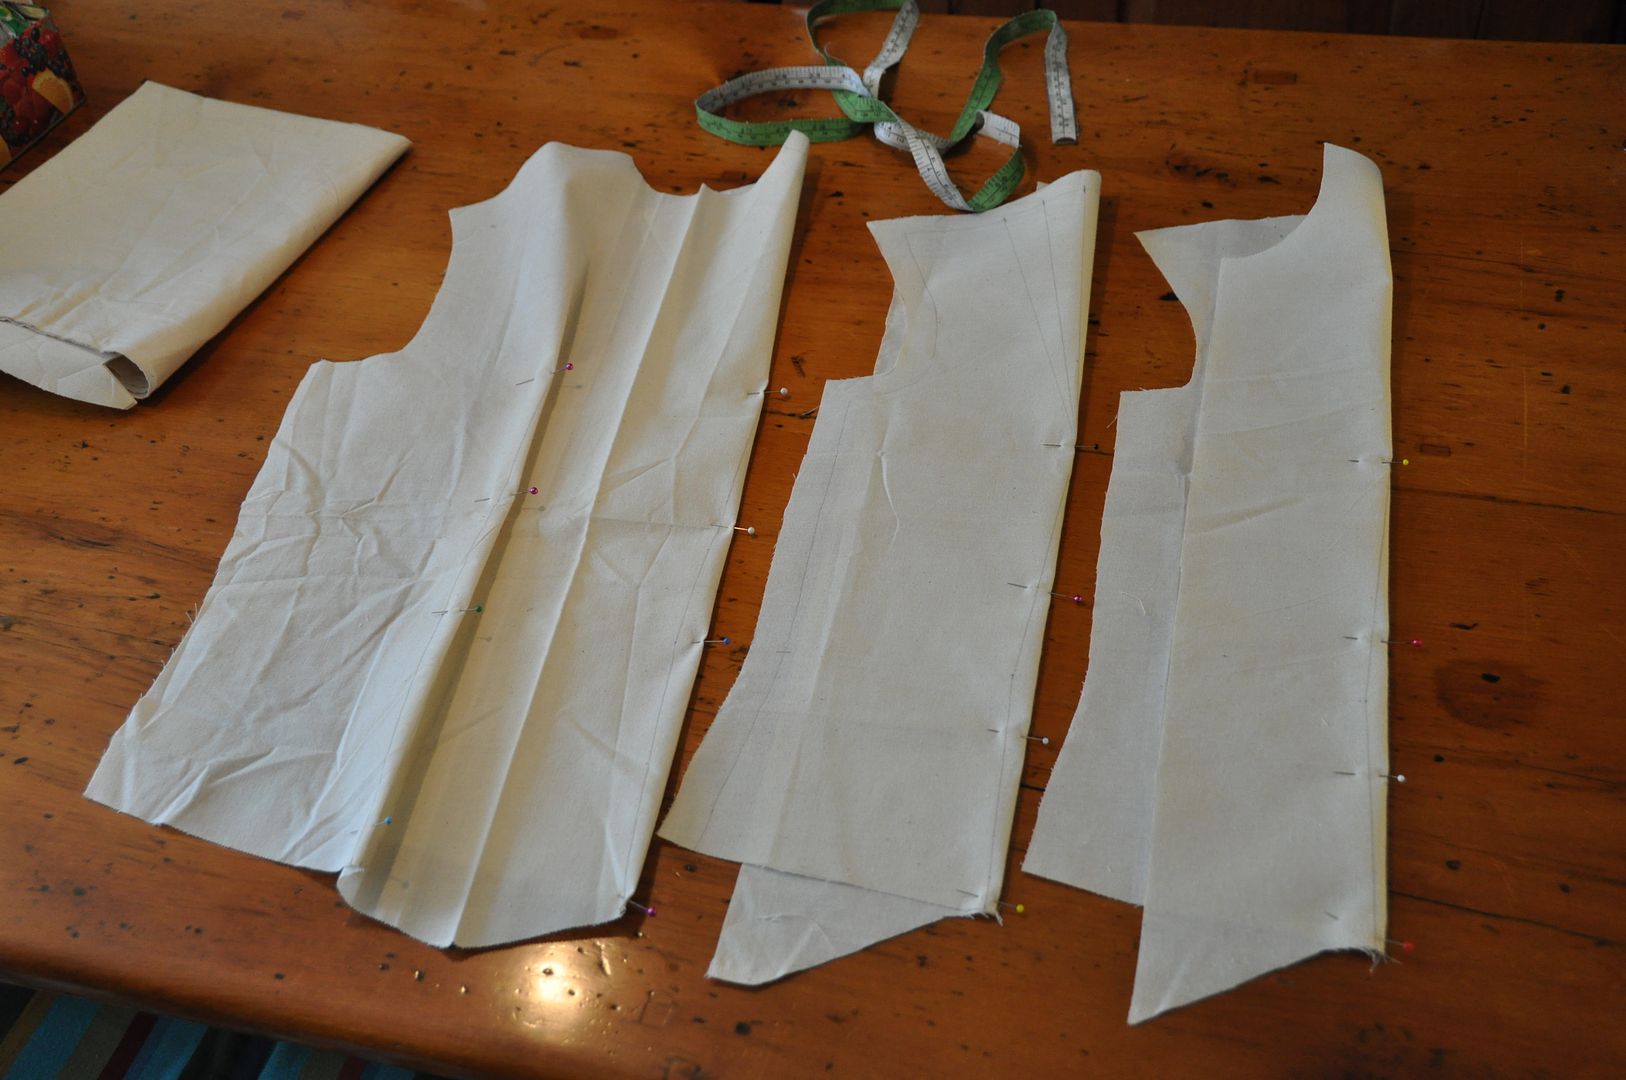 I started by drafting a basic block, as of late this has been a really useful tool in the majority of my pattern drafting for the upper body.
I drafted in an approximation of what I wanted the hem to look like, and left the front darts going straight up, rather than making a princess seam (which curves into the armhole).
I made a mock up out of muslin that I could draw alterations onto, ensuring I sewed up all the darts.

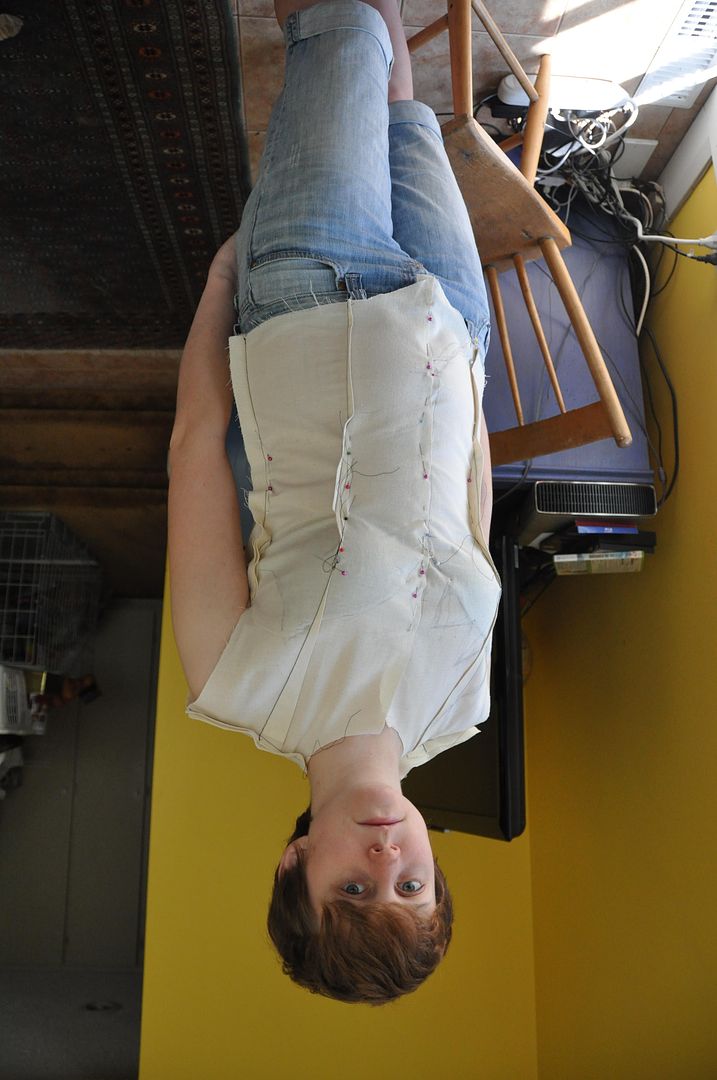
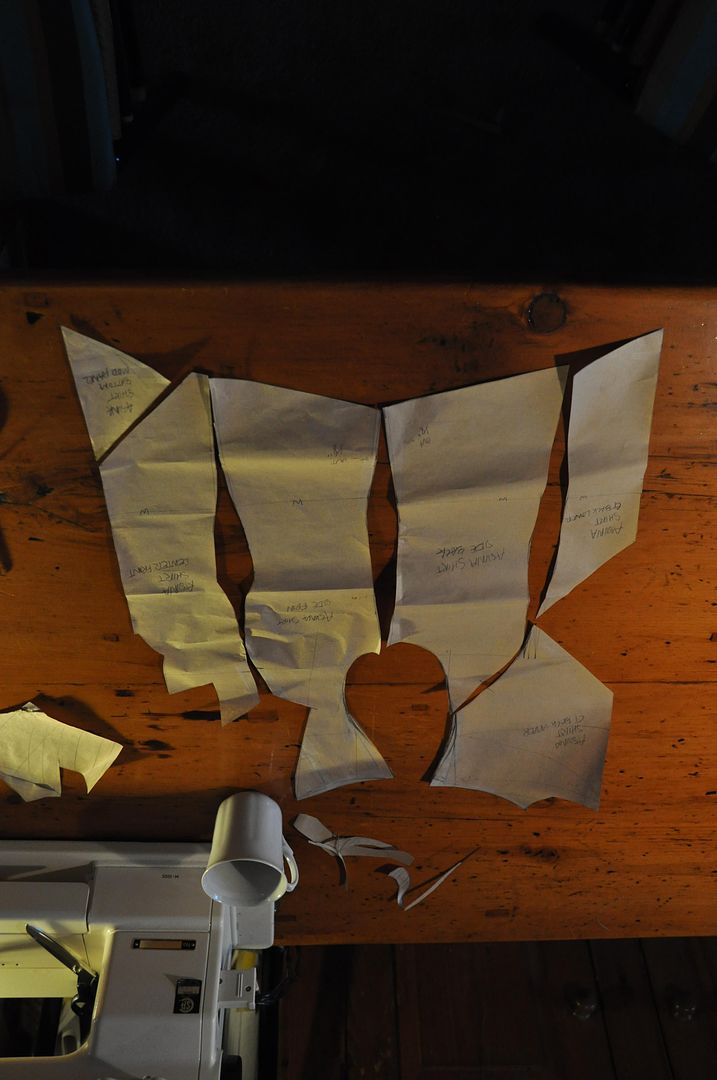
Once I determined that I liked the fit of the bodice, I patterned the sleeve...
 ...Which took several tries, as I am still not very experienced in patterning sleeves from scratch, particularly on such a fitted garment. And I also was accommodating shoulder pads, which was a first for me!
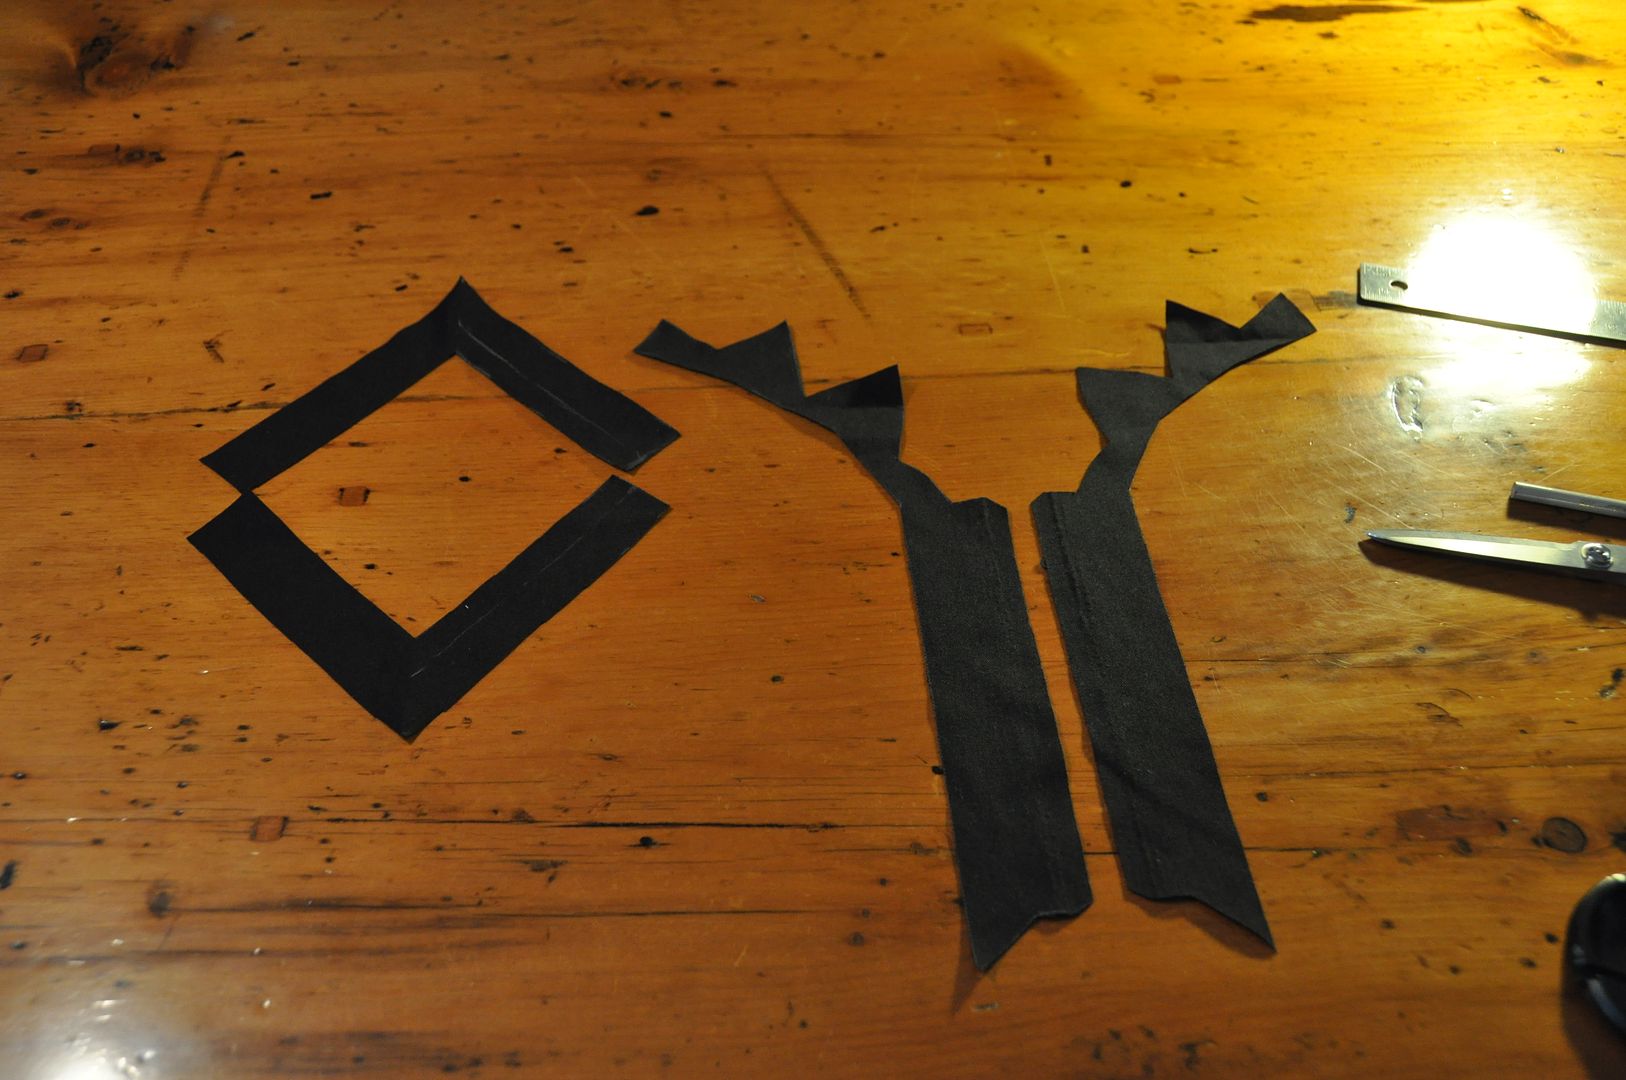
I eventually decided that the shirt was in need of a gusset, otherwise I would not be able to lift my arm. (Even with the gusset, my range was a tad limited.) I had to look up instructions on the internet, but basically it involved adding a diamond of fabric in the armpit (made of a stretch knit fabric) that would fold in on itself when my arm was down and stretch outwards when I lifted it.
...Which took several tries, as I am still not very experienced in patterning sleeves from scratch, particularly on such a fitted garment. And I also was accommodating shoulder pads, which was a first for me!I eventually decided that the shirt was in need of a gusset, otherwise I would not be able to lift my arm. (Even with the gusset, my range was a tad limited.) I had to look up instructions on the internet, but basically it involved adding a diamond of fabric in the armpit (made of a stretch knit fabric) that would fold in on itself when my arm was down and stretch outwards when I lifted it.


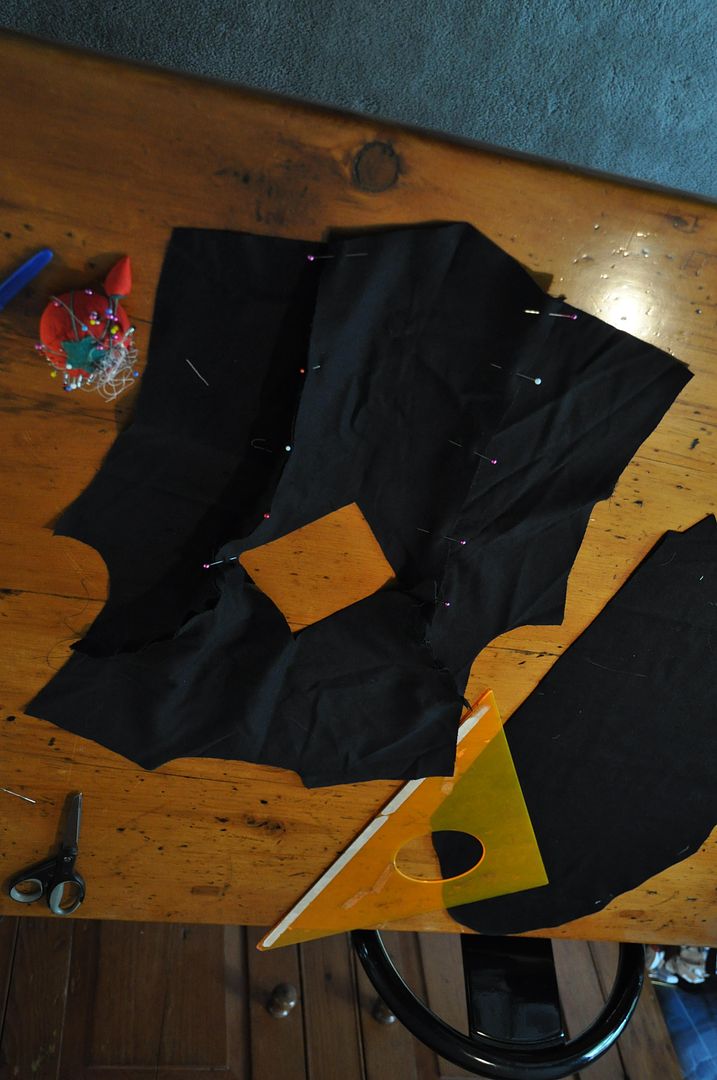
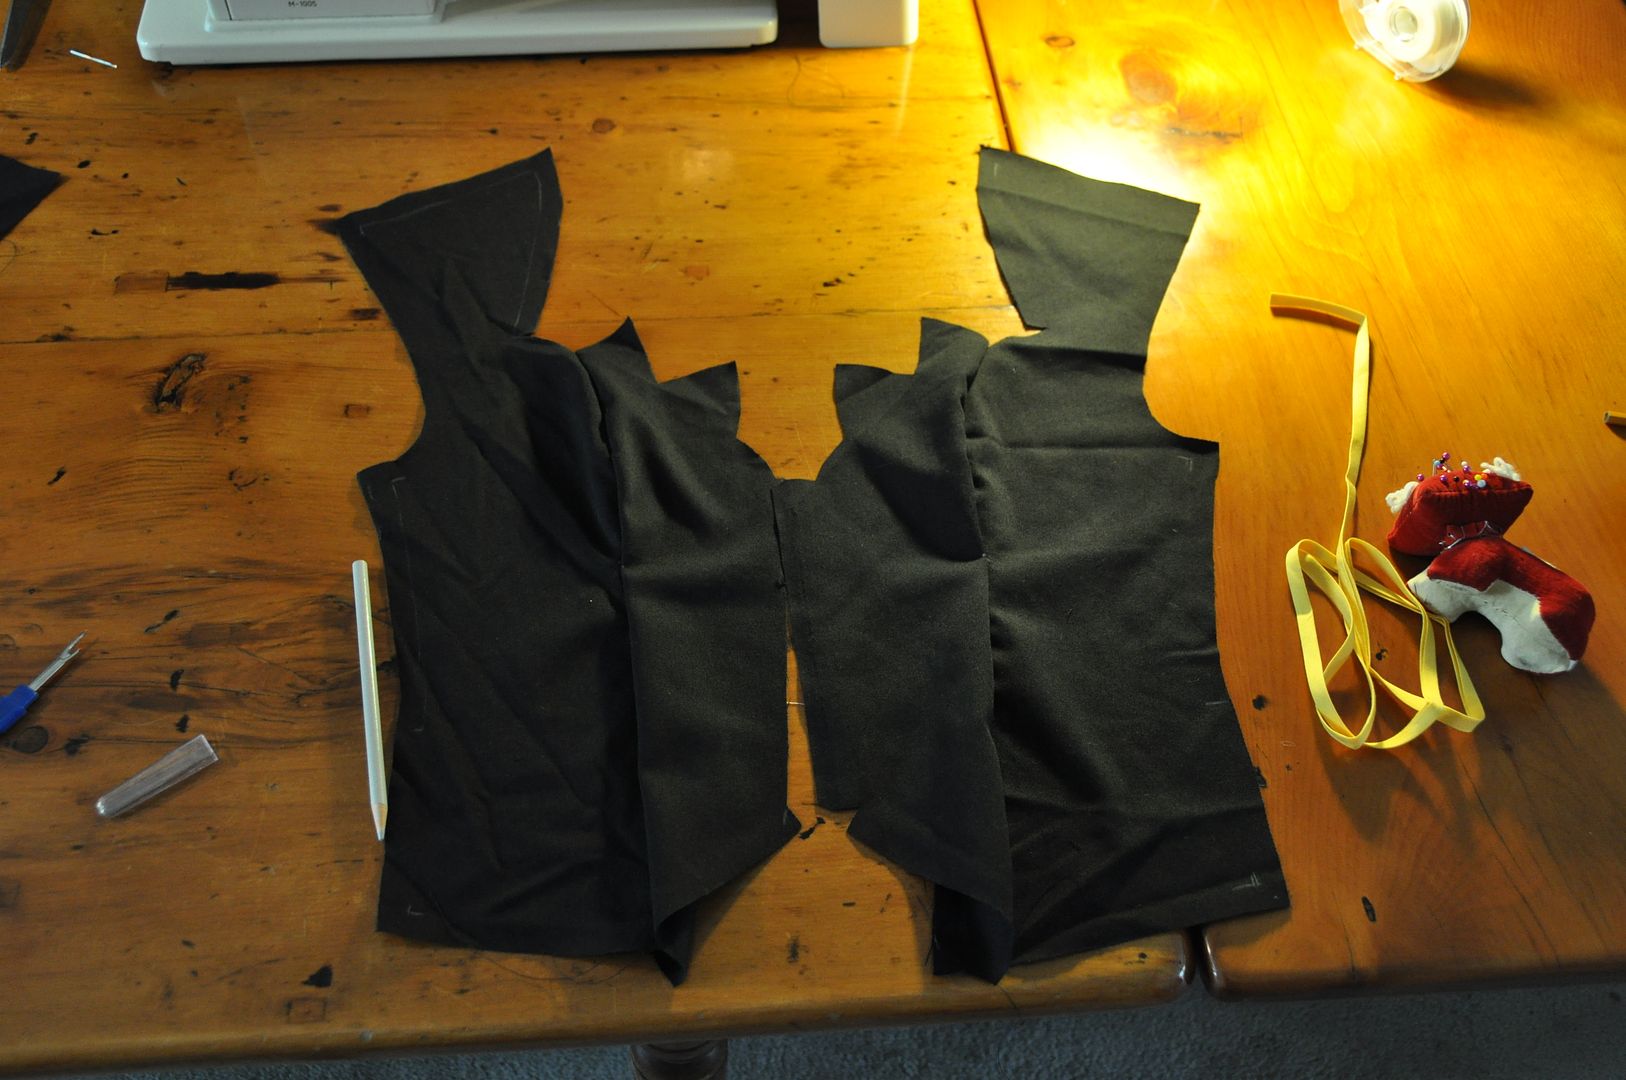 I assembled the back panels and the front panels.
 For the sleeves I first attached the gusset to the sleeve on one side, then sewed up the under seam of the sleeve, continuing through to sew up the other side of the gusset. Then the full sleeve was attached to the garment.


I finished the back diamond and bottom hem. Then I added my yellow bias tape to the neckline. To took forever, but it looks totally awesome! I also applied the bias tape to the cuffs, which was even more horrible than applying it to the neckline.


My friend Alli sewed on all the hooks holding my bra in place both in the back and in the front, as well as all of the gold buttons on this costume. Some of the buttons held armour pieces in place, others were simply decorative.
The last finishing touch was the red panel that peeks out of the back diamond. This I actually added to the design, because I wanted to wear a bra under this costume, but still keep the diamond cutout in the back. By adding this panel it allowed me to visually keep the black cutout the same shape, while exposing less skin. The bra strap was tucked up and hooked to the shirt to prevent it from slipping down.

No comments:
Post a Comment