
Special thanks to my mum for doing an impromptu fall photoshoot in the backyard!
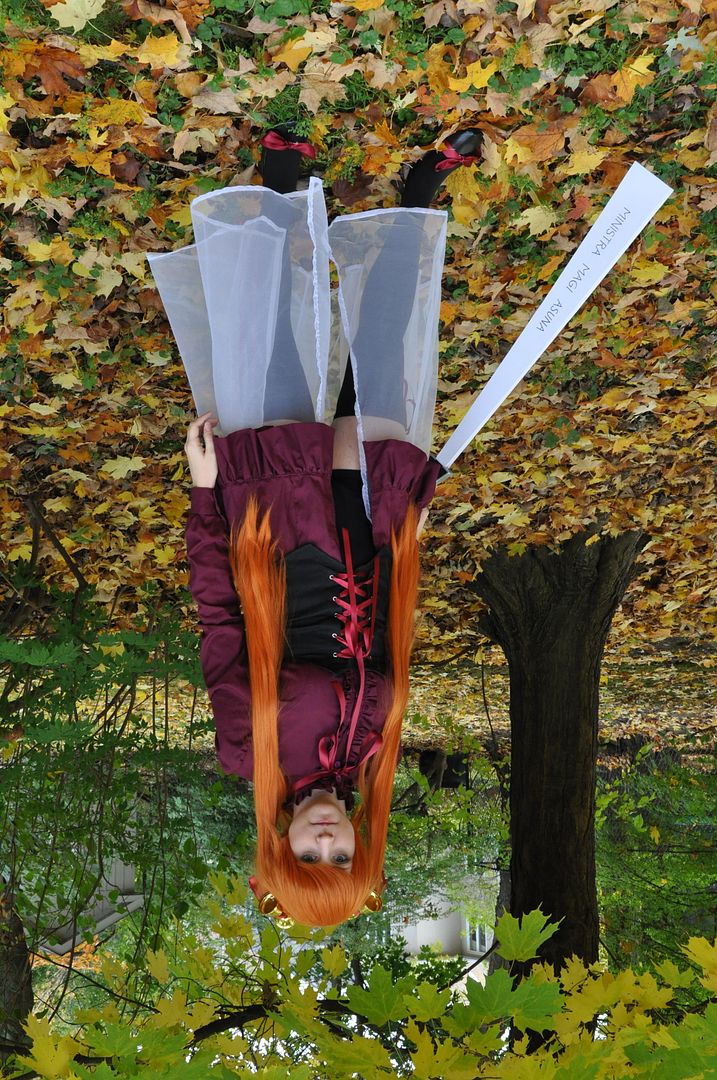
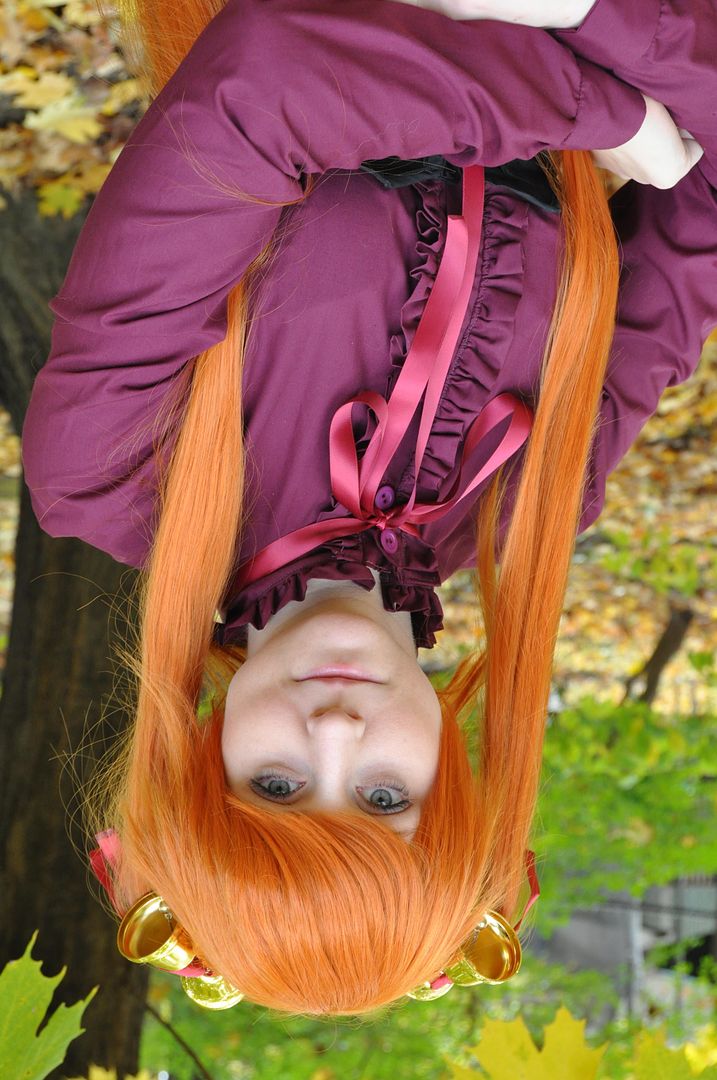
 I picked this one (pictured left) particularly so I could re-purpose the sheer under skirt I had originally made for her other costume! This outfit is worn during the training arc prior to their trip to Mundus Magicus, for anyone who actually knows the series.
I really like the deep burgundy colour of the blouse (dress?), but I went more saturated with my colour choice.
(There sure are a lot of orange-haired characters in this manga...)

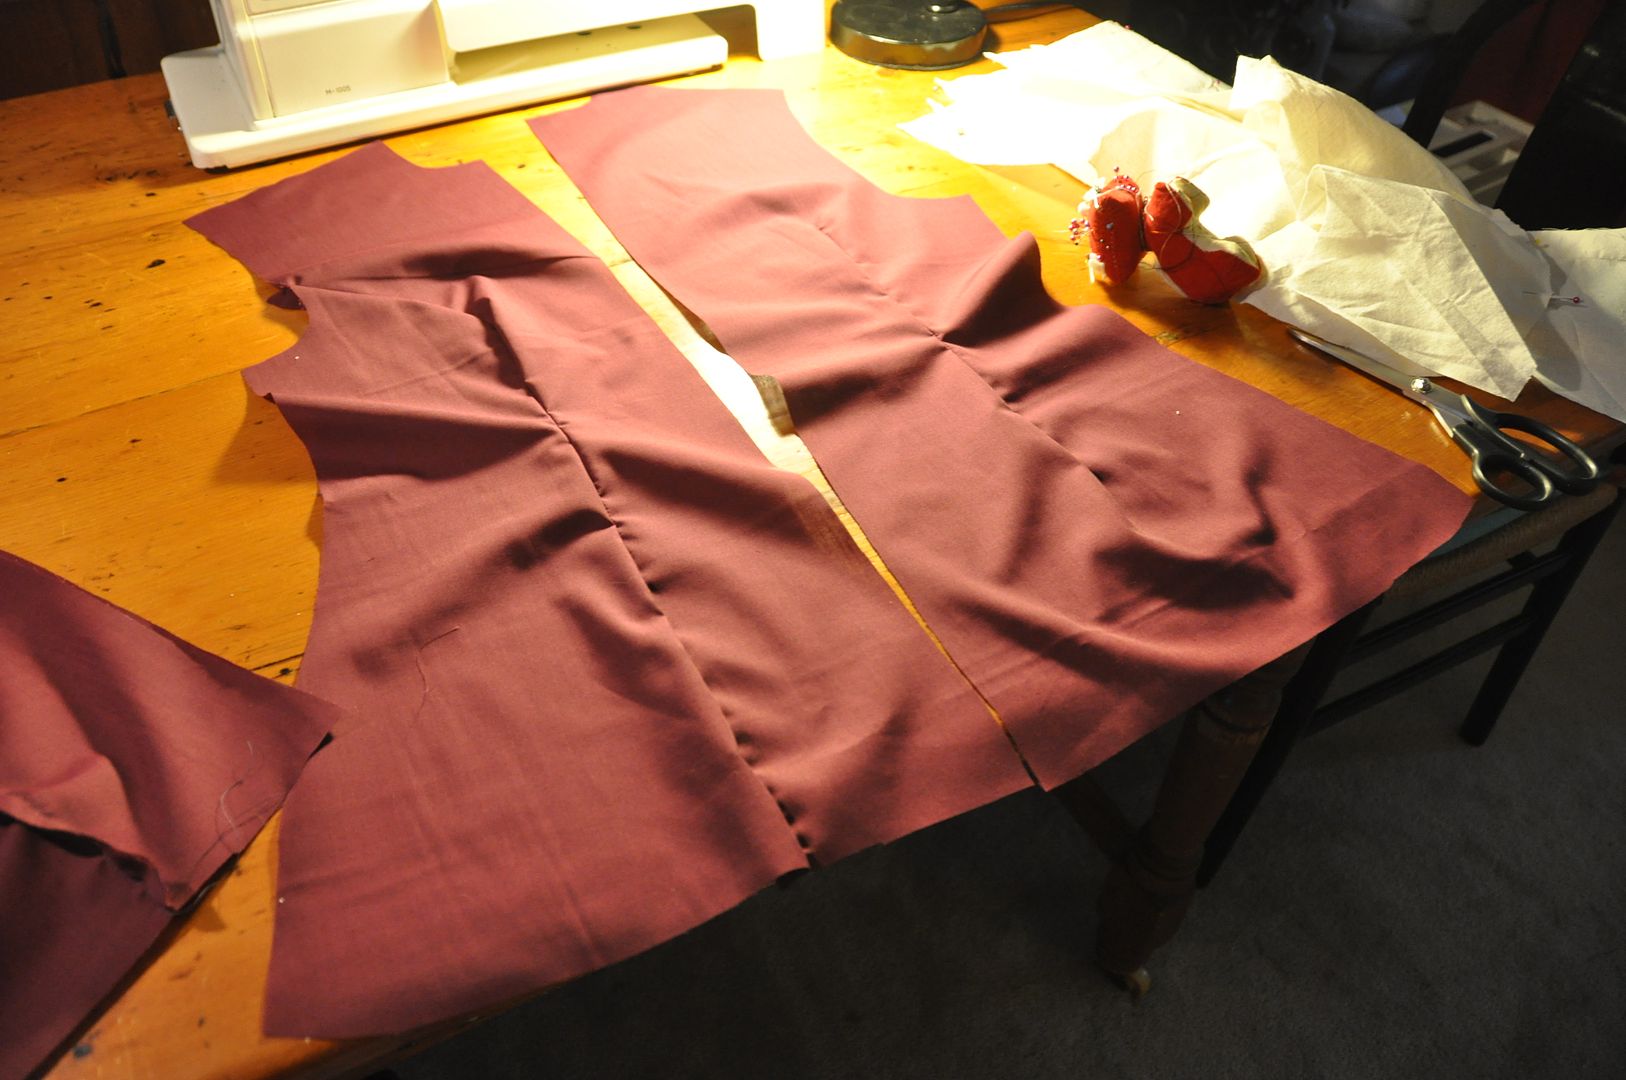 I drafted a basic block, with a princess seam that I extended to be longer and go outward in an a-line style at the sides.
 I cut out all my pieces (2 center front panels, 2 center back panels, 2 side front panels). Then I sewed up the darts, then side, back and shoulder seams.
When this was done I finished the inner seams.

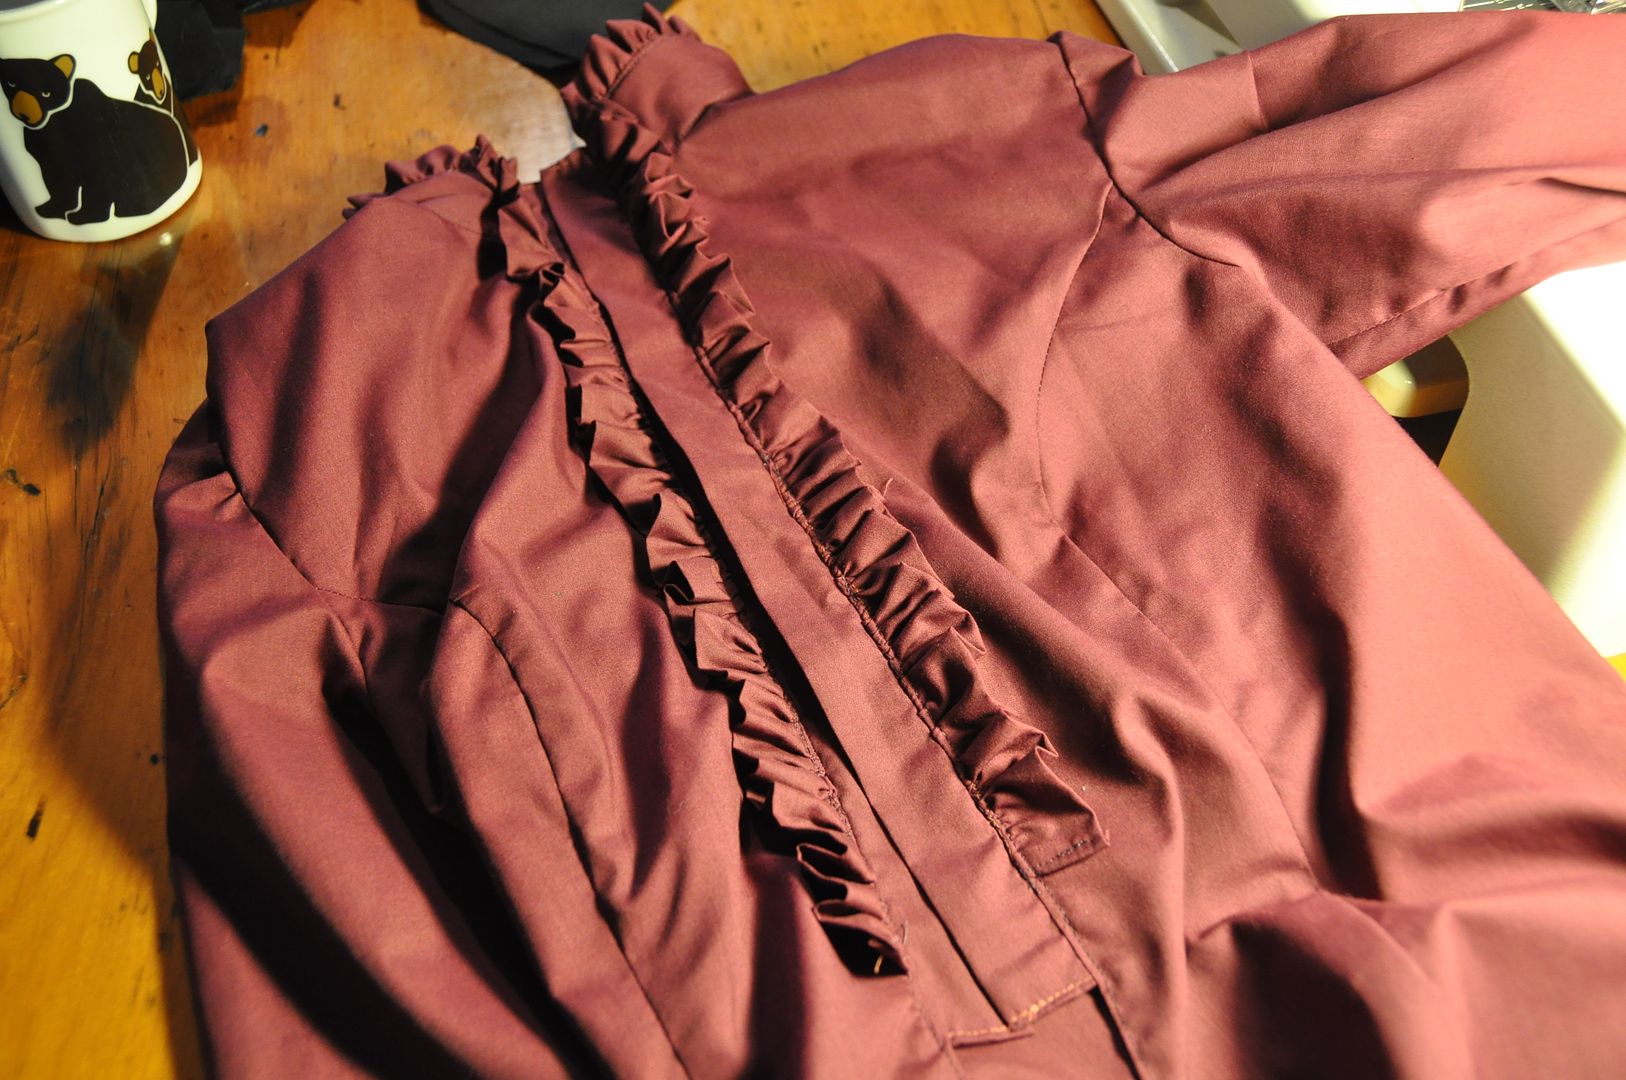
 I drafted the sleeve to have a slight pouffe at the shoulder. I cinched the ruffle with a double row of basting stitches (leaving the thread ends long so I could pull on them).
 I made the collar ruffle, which was sandwiched inside the collar pieces and turned right way out. This was then attached to the neckline.

Then I attached the placket and finished off the opening edge and armhole seams.
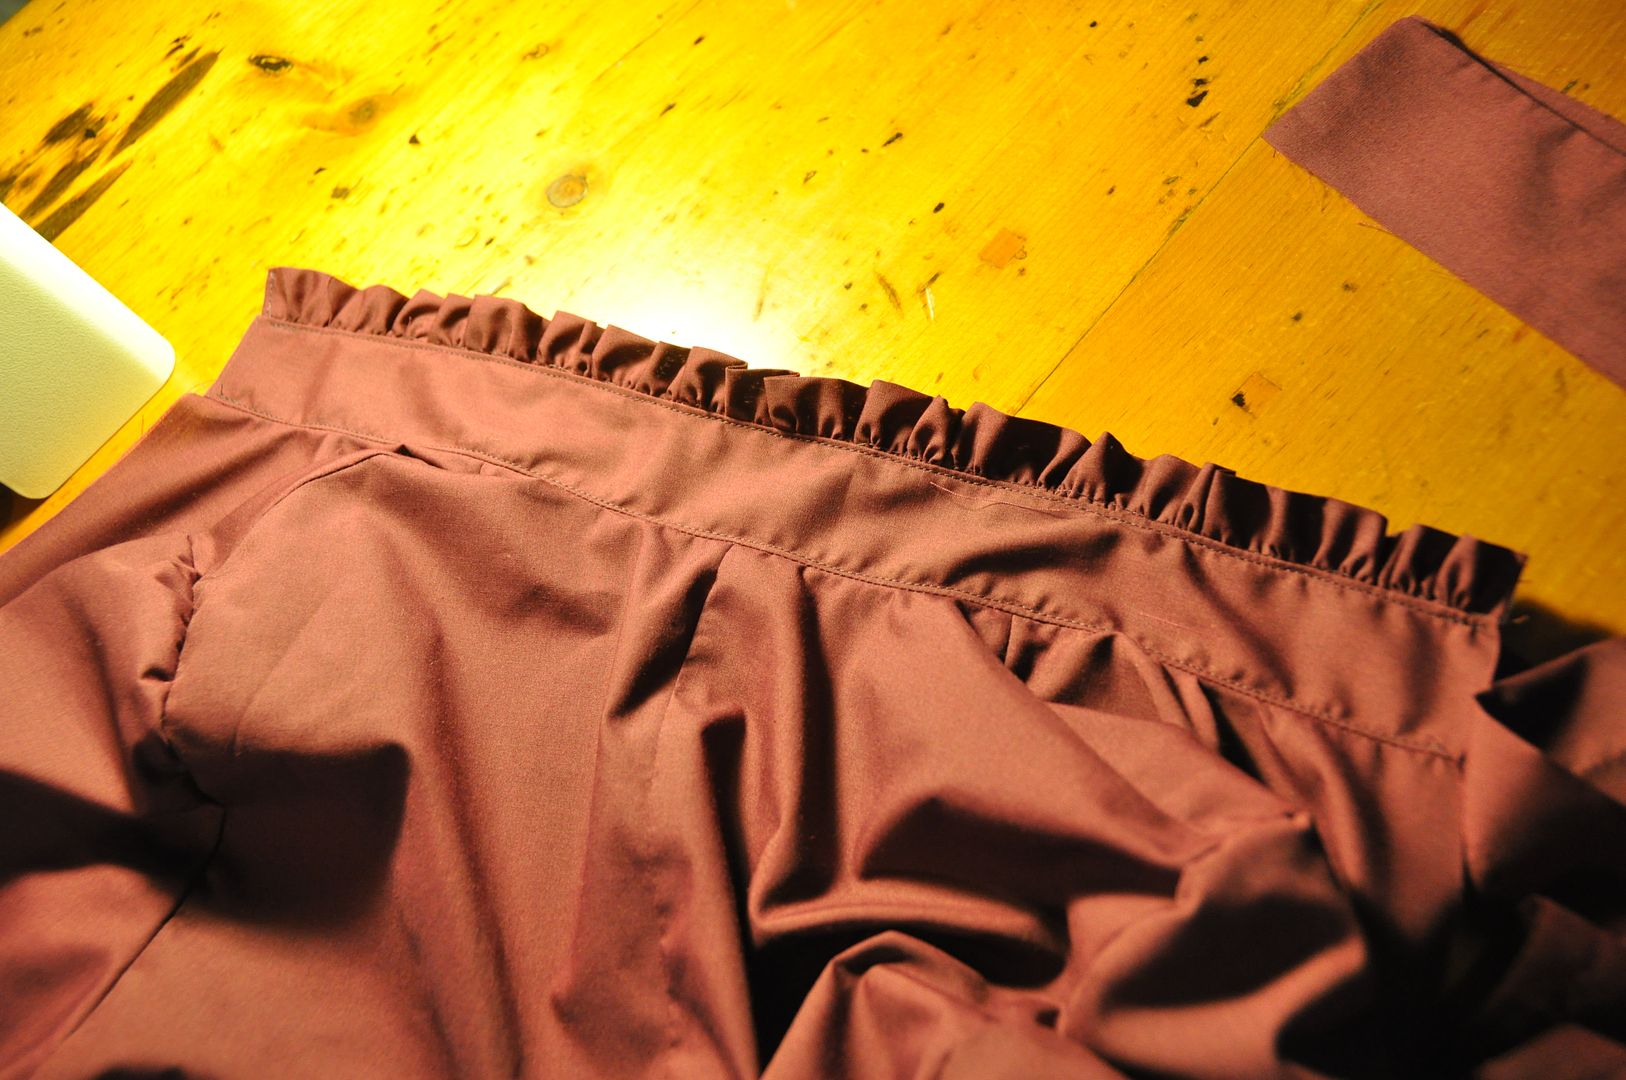
 Then I made a bias tape to finish off the sleeve slit, before I attached the cuffs. The sleeve pouffed just a touch at the cuffs as well.
The last thing I did was attach the bottom ruffle and do all the button holes.

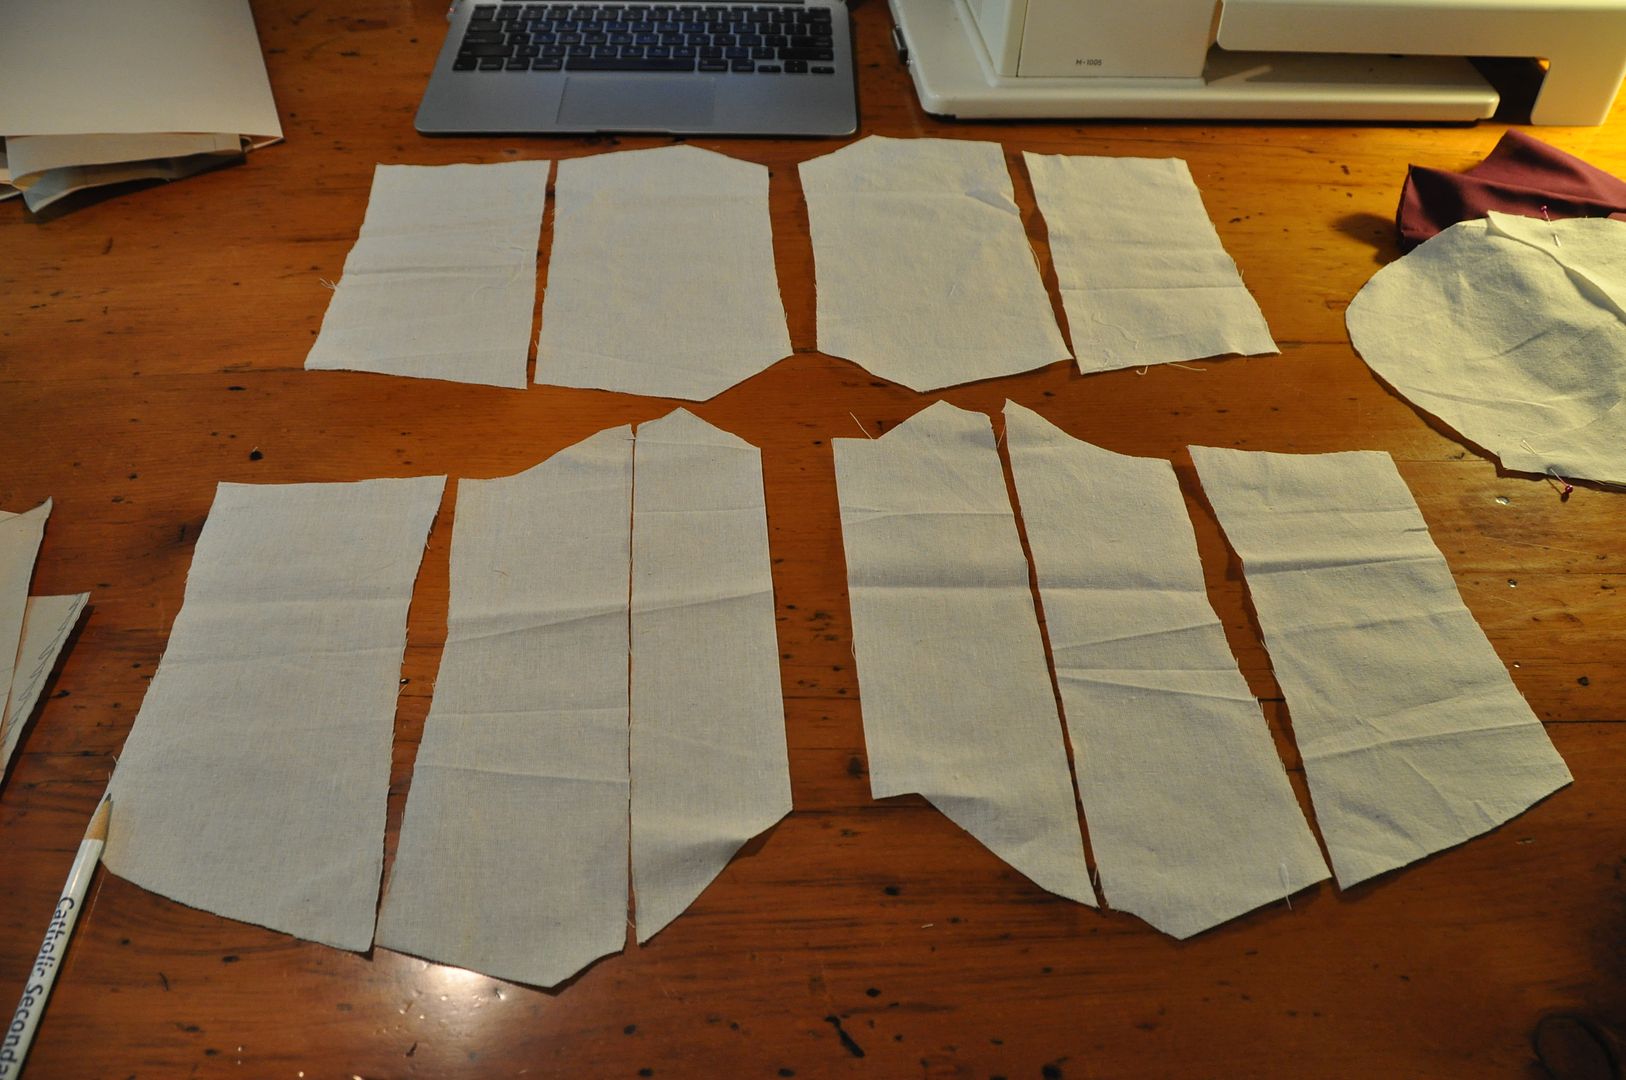 I figured out how long I wanted ti to be, my underbust measurement, my waist measurement and natural waist measurement (where a modern pair of pants would sit). From there I was able to pattern this. Using my widest measurement I could then divide and calculate my darts.
The result was these 10 pieces (pictured left: top row is the back panels, bottom row is the front panels).

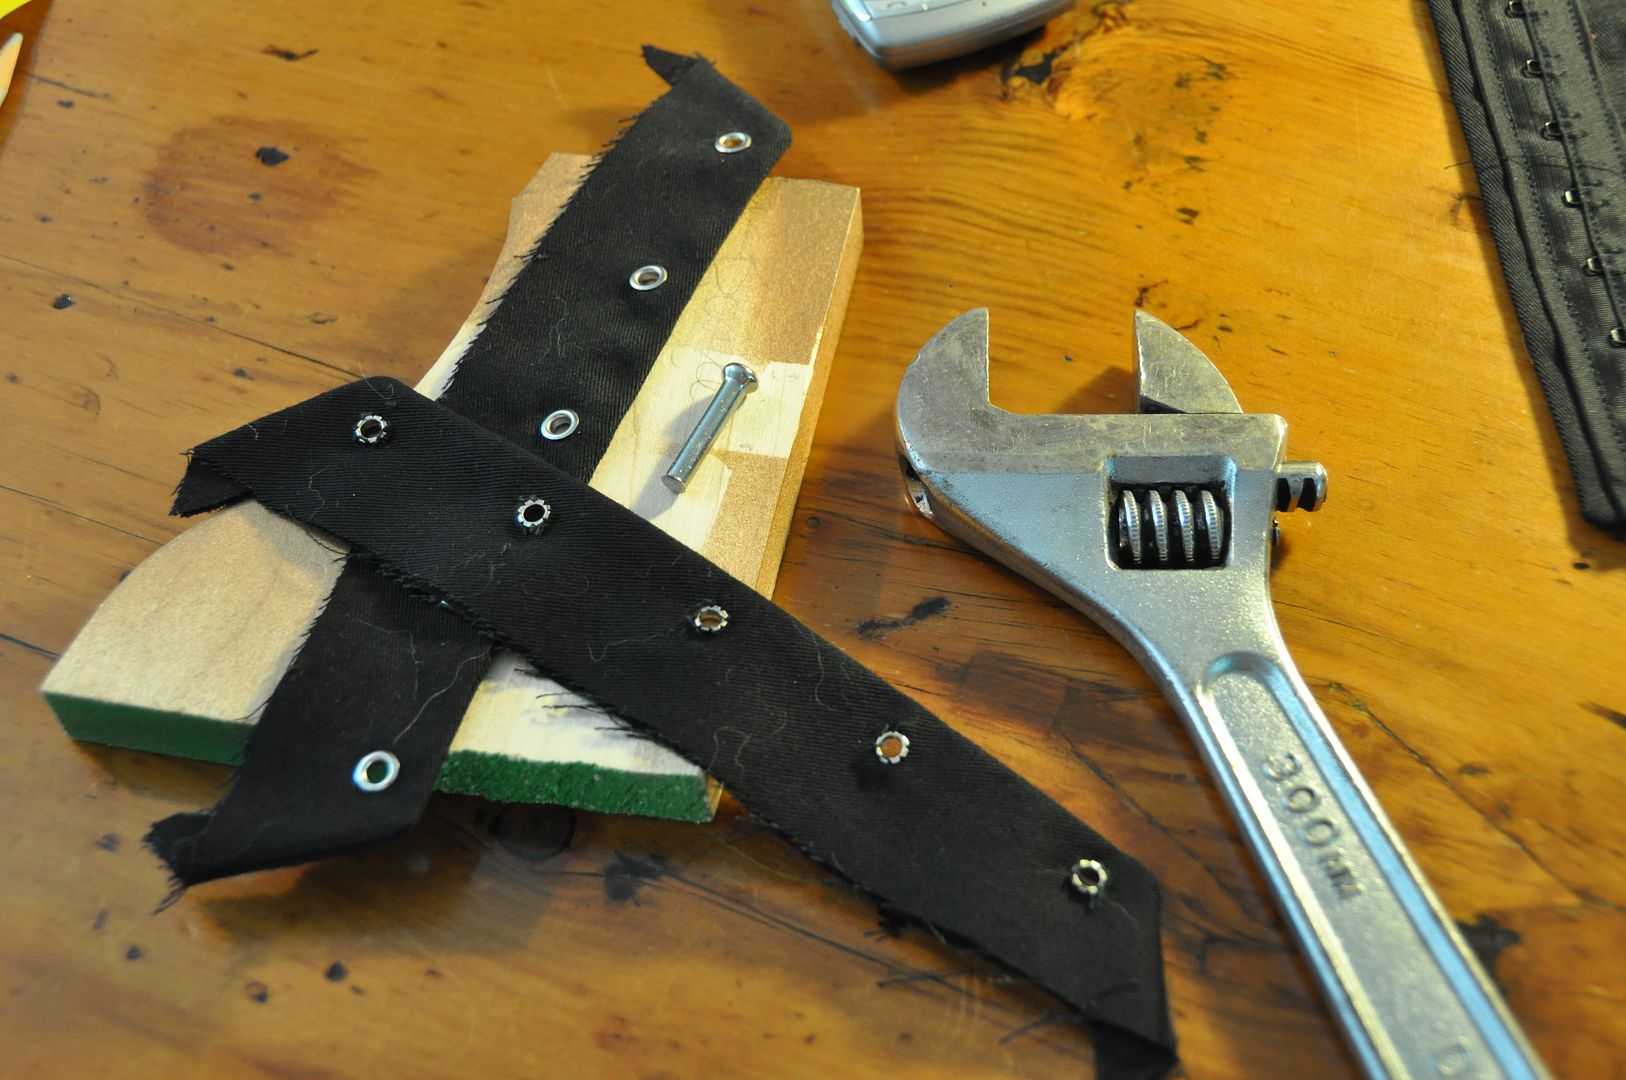 I made a mockup, then a good version.
Then I hammered in the grommets. I couldn't find a hammer, so I used a wrench instead (my shop professor would be crying right now). It is always recommended to have a scrap piece of wood handy when hammering grommets, otherwise you will end up with dents in your table...

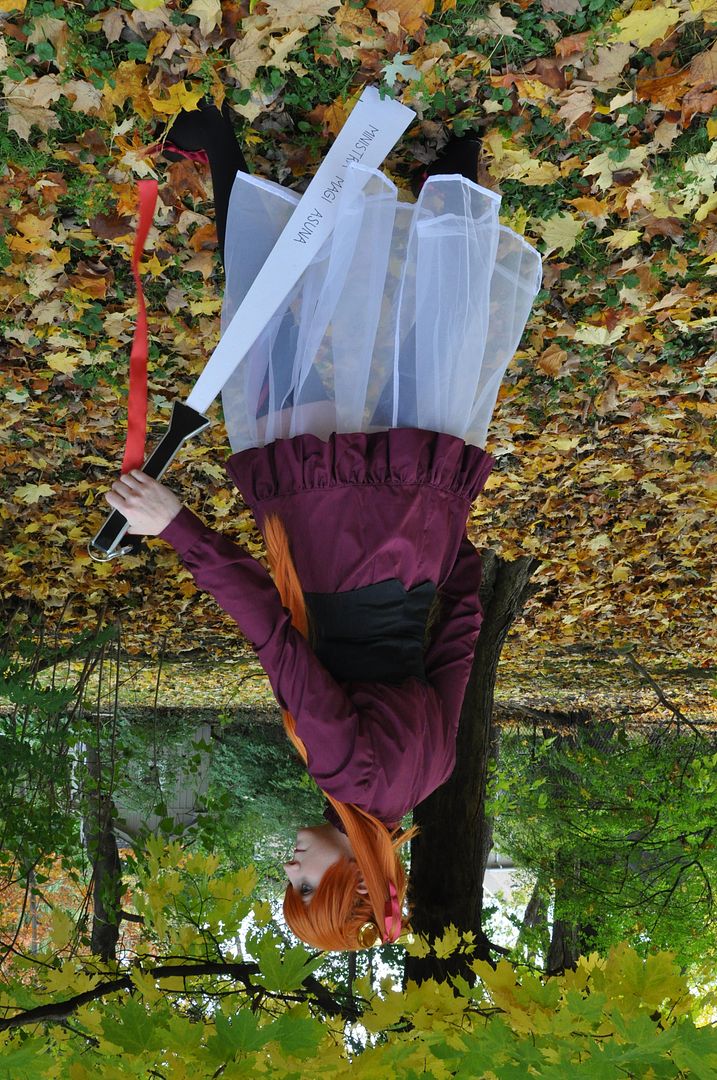
I bought the thigh-high socks and ribbons for the costume. All of the bows on the socks were attached with safety pins, so I can use the socks for other things (and real life). The black flats are the same ones from my Alice costume.
No comments:
Post a Comment