
 For the last part of this tutorial lets talk tails! This was my first time making tails, so there was a bit of trial and error to get it right, but these ones turned out really well, and I am super happy with them. Particularly Suppi's; look at that fabulous spiral! :,D
Go here for the Shirts & Shorts, Wigs & Ears, Aprons & Wings and Props & Accessories! Special thanks to Eleventh Photograph for taking some great pictures of us! See us in his Otakon gallery!
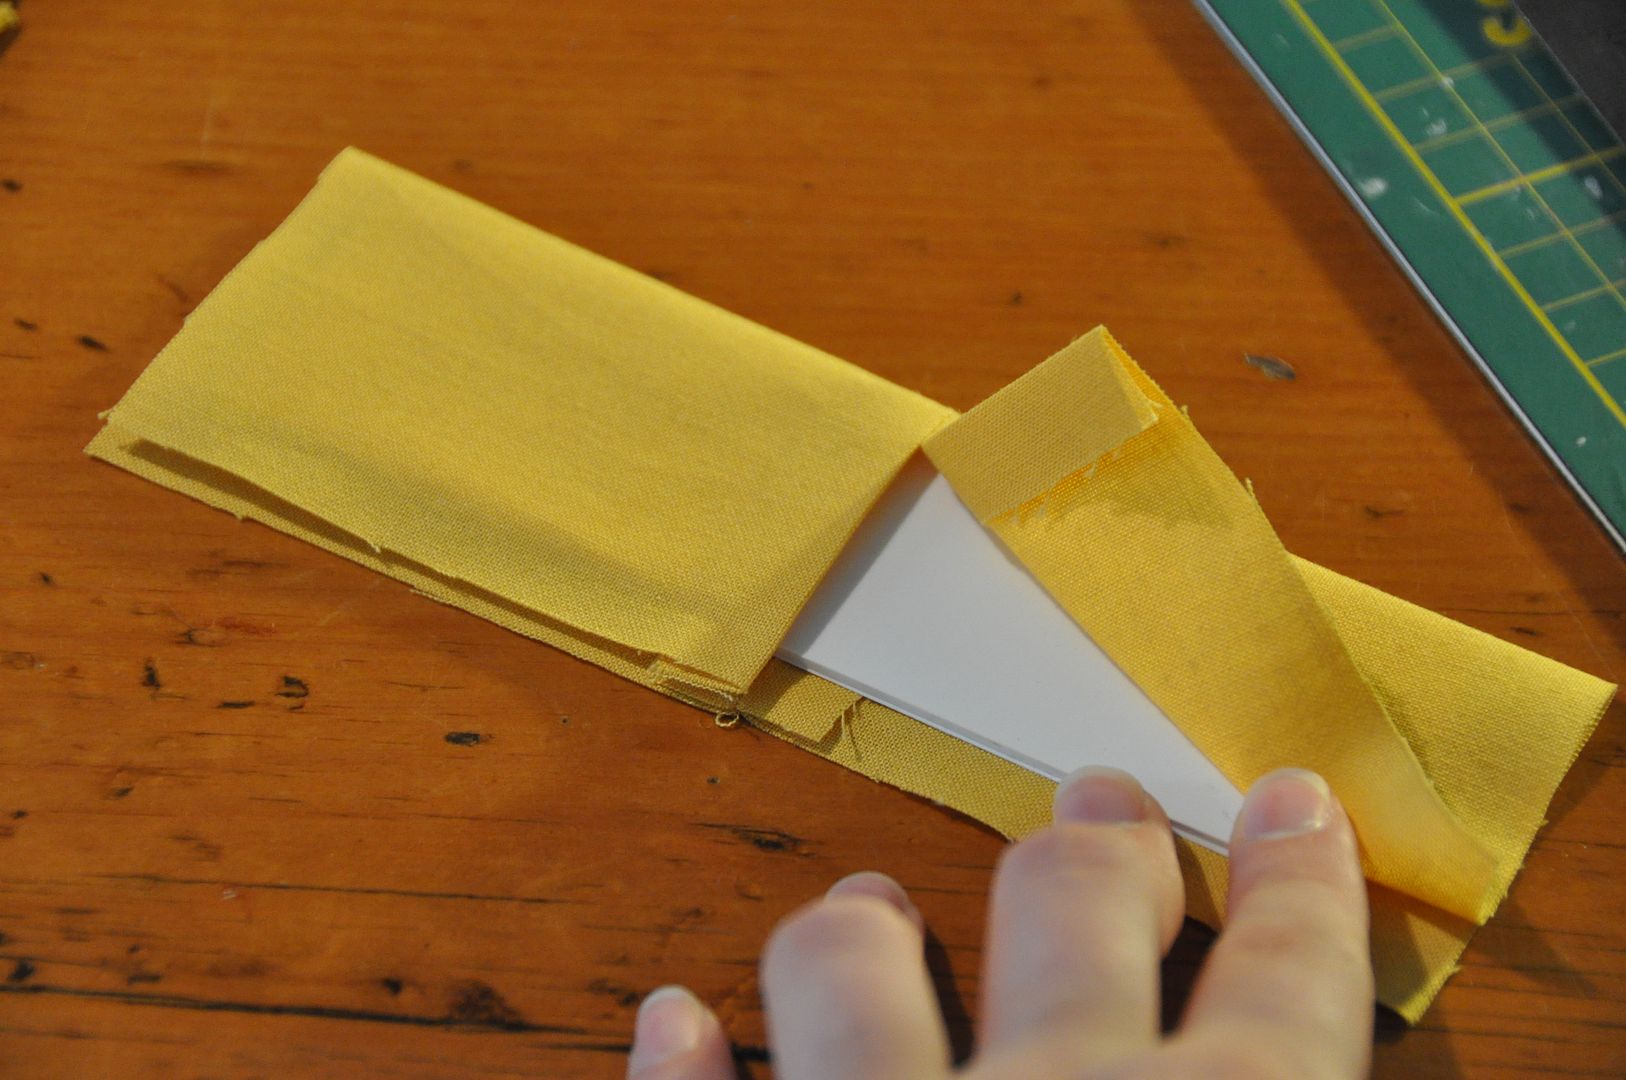
 The secret to these tails is that they aren't stuffed; I used foam insulation tubing for 1/2" pipe. Normally this stuff is used in construction around pipes. It's a flexible foam tube with a slit in the side. You peel off the yellow strips and it adheres to become a complete tube. Also it's dirt cheap. Pretty cool stuff!
Let's start with Kero's tail, as it was the easier of the two.

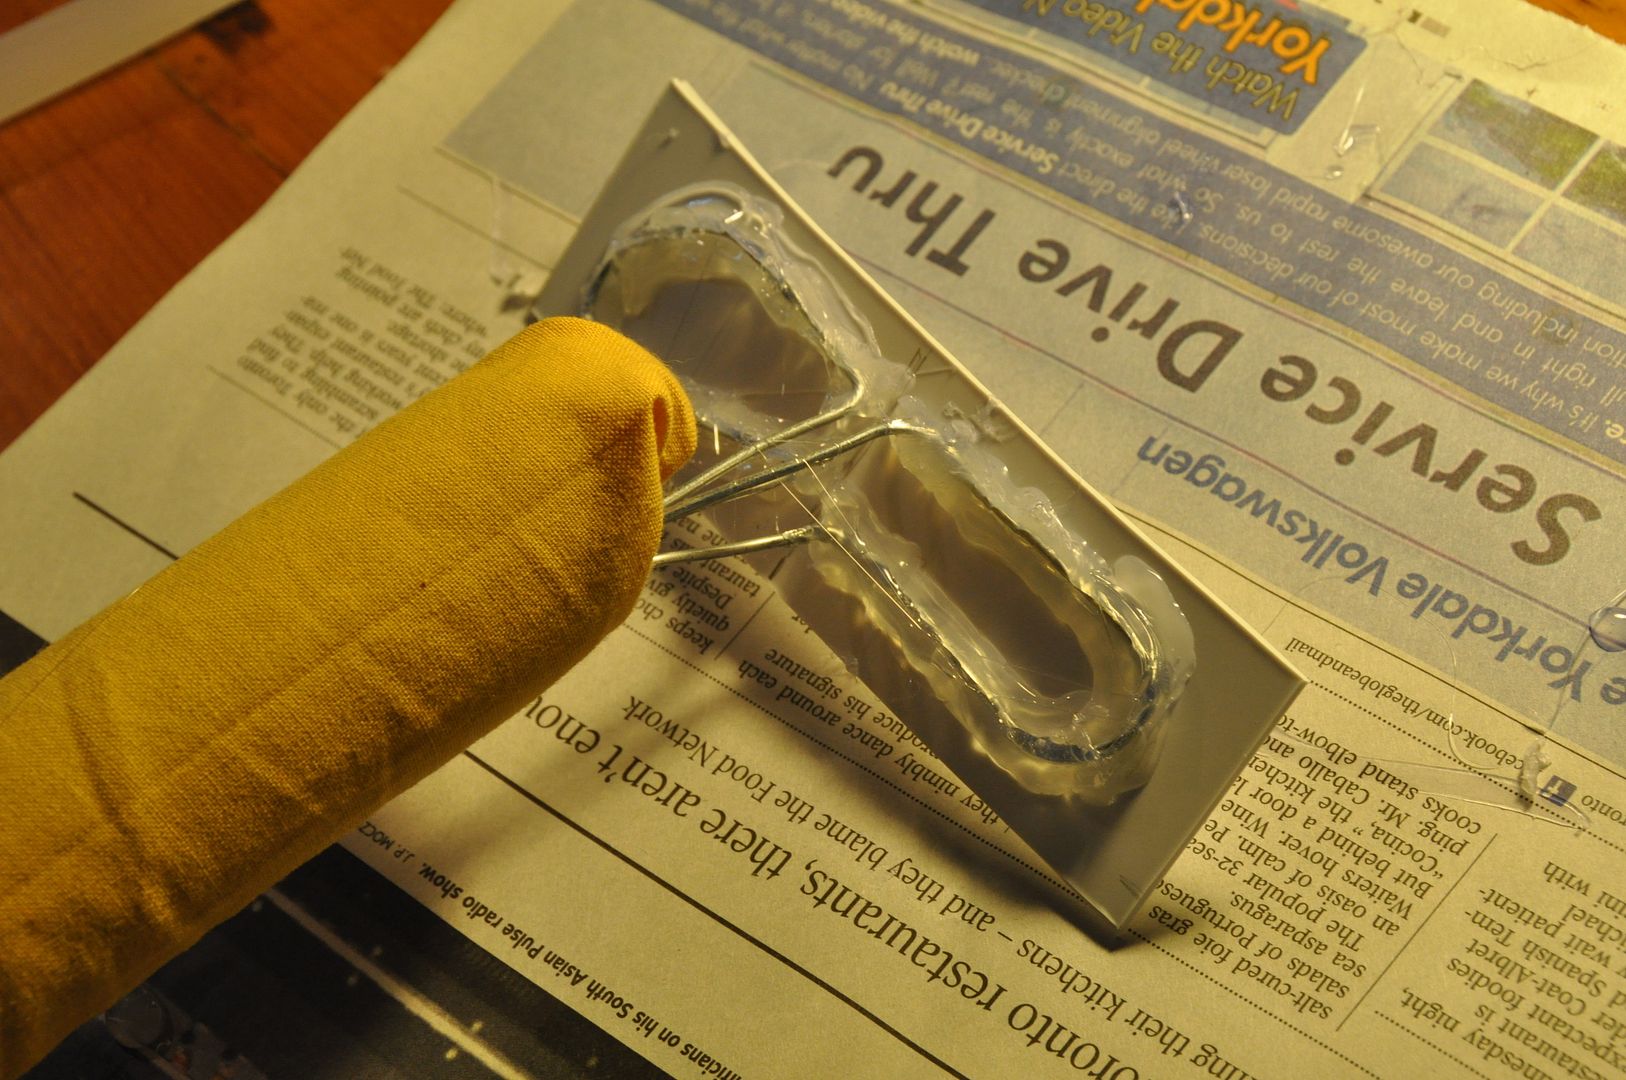
 The end of the foam where the tail base would be I cut on an angle. Then I bent the wires into loops pressed off to one side. This would make the connection secure.
Then I made a long tube of my yellow fabric just slightly wider than the circumference of my foam tube that I snugly slipped over the tubing.
 The base piece is a covered piece of styrene plastic. The cover has a slit built into it where the wires come out of it.
I drew a center line on this piece that would line up with the slit, then carefully glued down my wire loops using hot glue. The nice thing about styrene is that hot glue bond really well with it. But be warned if you make a mistake the lumpy glue will pretty much never come off.
Then I cut off the excess fabric, stuffed it inside the tube and hot glued it in place.

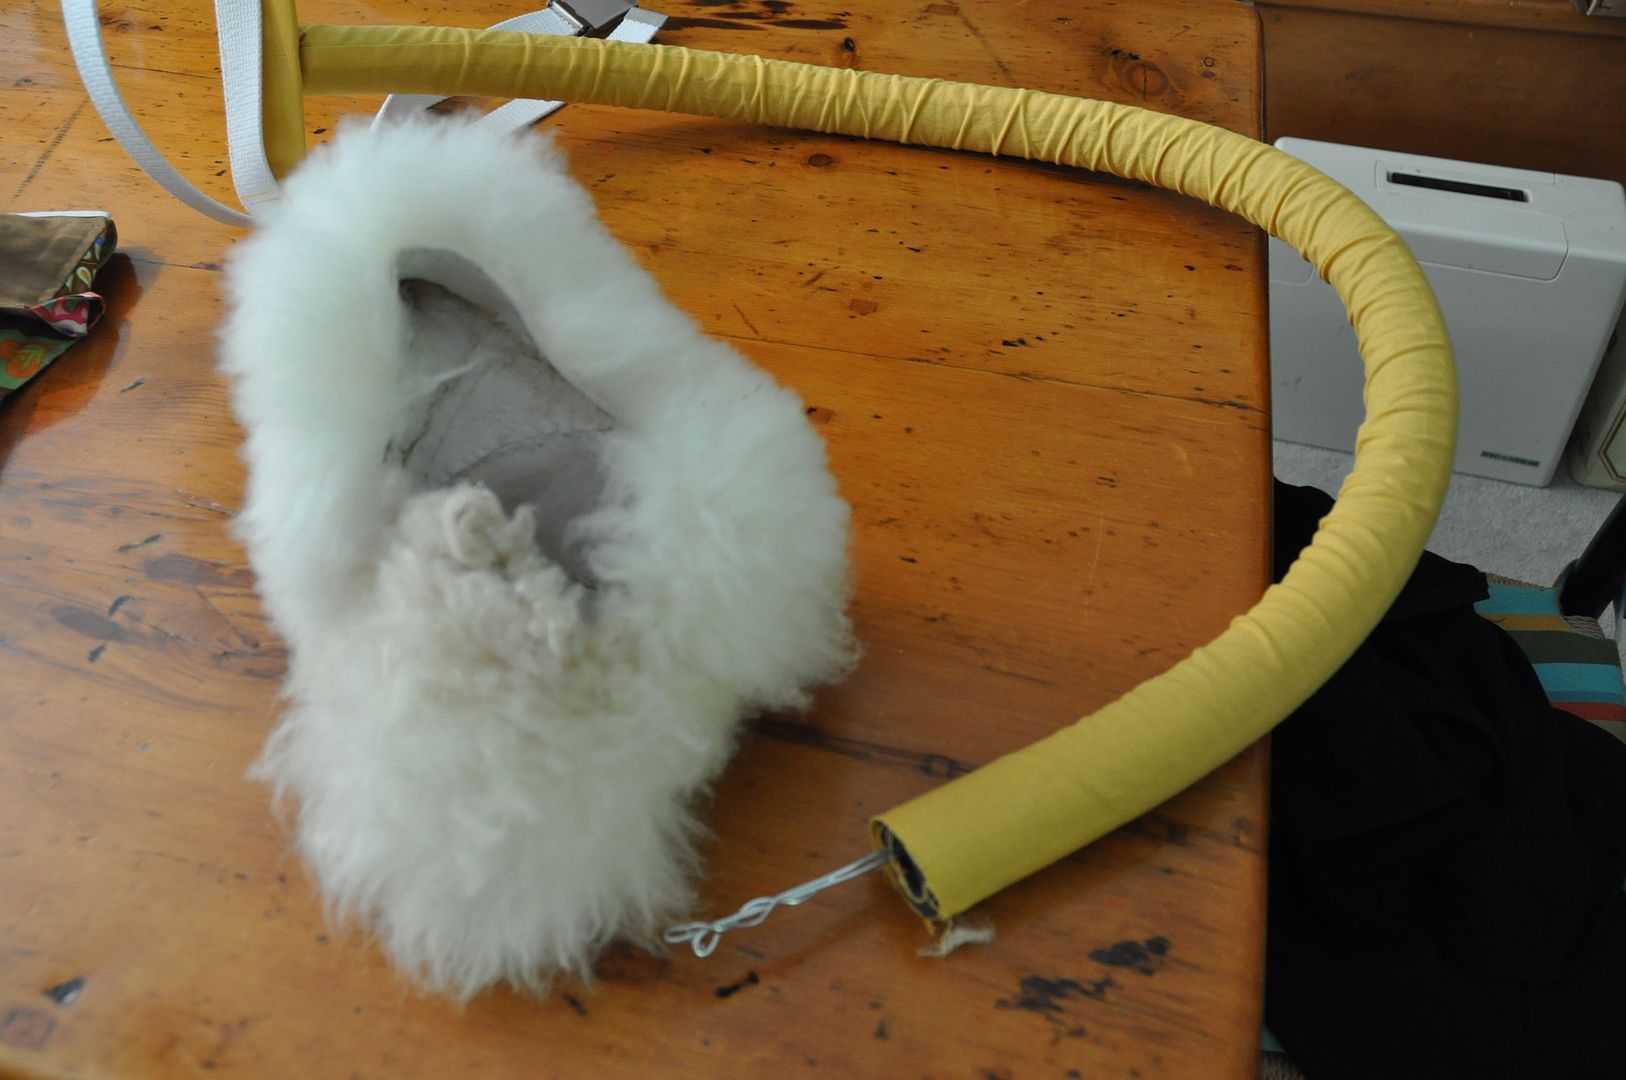
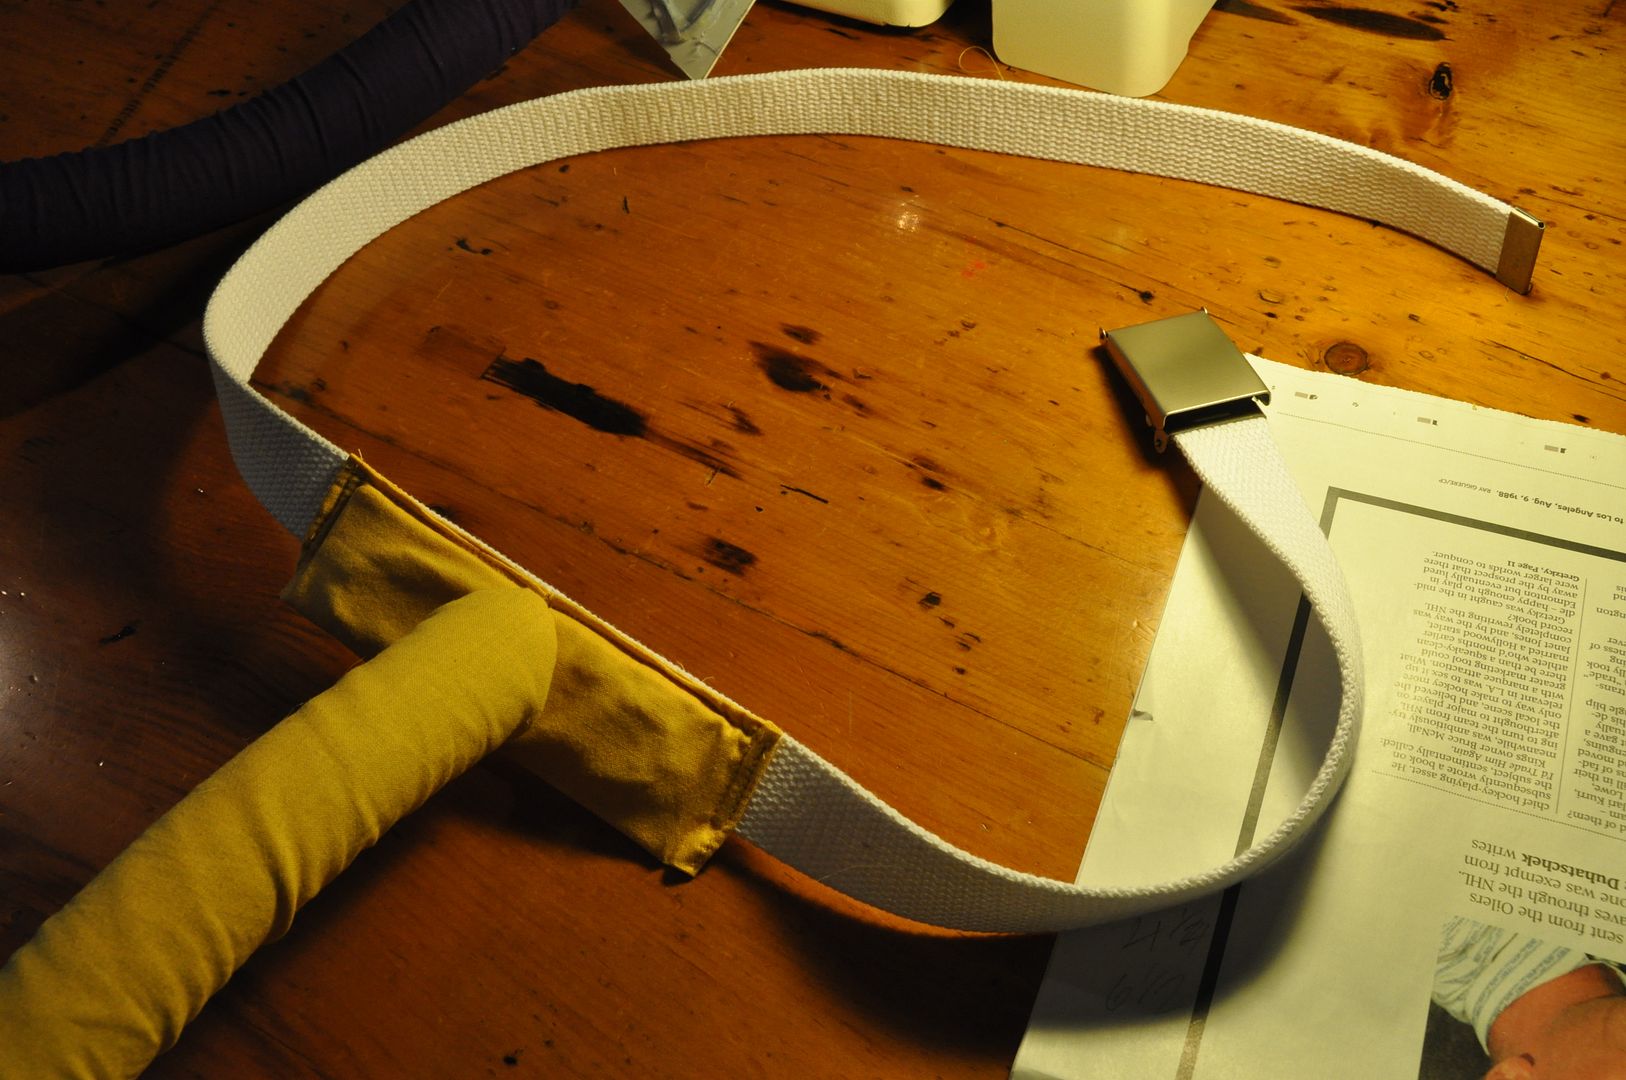 The slitted cover is then slotted around the wires and stitched together along the top edge. The cover is then sewn to a fabric belt. This kind of belt is easily picked up for cheap in Kensington Market in Toronto.
 The pouffe was constructed out of leftover scraps from a costume of my sister's. That is actually part of a sheepskin rug from Ikea. :P

Suppi's tail was a lot more challenging to construct. The main issue was getting a spiral with a cover that wasn't completely wrinkly. This meant that part of the cover had to be a curved tube.
Making the spiral itself was pretty easy. I simply cut out triangle wedges from the inside edge of the tube to allow it to curve more sharply for the spiral portion. I fed 3 wires down the center, then removed the adhesive strip, sticking the tube together. Then I bent the wires into a spiral, keeping my slits on the inside edge. The length of tube was 4 ft, but I didn't cut it any shorter, as the length was necessary to make the spiral.


Where the two covers met they were hand stitched together, and the tail end was hand stitched closed.
The base was done in the exact same way as Kero's. :)
No comments:
Post a Comment