


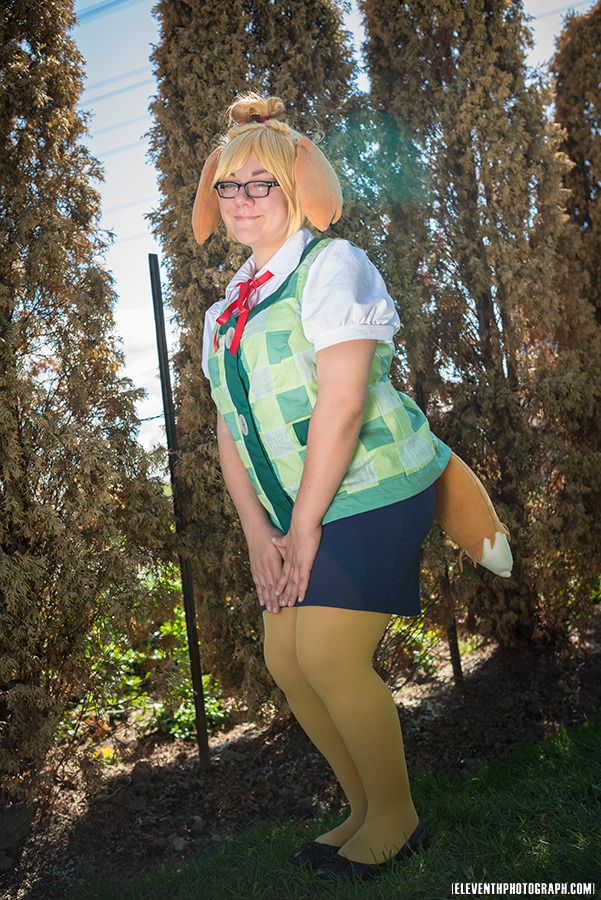
The first of my Anime North posts! Lets look at Isabelle! This was made for my older sister Alex. This past Christmas I didn't really have enough time to make a whole bunch of gifts at the end of term, so instead I made a "gift certificate" for my sisters for 1 costume each. Elanne picked Sakura, and Alex picked Isabelle.
Isabelle is a character from the popular game series Animal Crossing. (Called Shizue / しずえ in the original Japanese version.) She is the secretary to the Mayor (the player). I don't play it, but my sister is very much a fan! As you can see, this is a gijinka version of the character, but since the characters in this game are already pretty much humanoid already, there wasn't much redesign necessary to create a gijinka version. This is really just a wig with ears instead of a full mascot head.
 She wore this costume on the Saturday of Anime North, while running her Crafters' Corner table, which had her tied up for the majority of the weekend. She did manage to escape for a little bit and did a mini shoot of the costume with Mike of EleventhPhotograph . We got some really cute pics! :D Be sure to check out his con gallery!
The base wig we started with was this one from Epic Cosplay. I really liked this colour of blonde, we chose to go with a colour palette that was a little less yellow than the character is normally. I think it is technically listed as a Vocaloid wig, and it required a large amount of styling to get it to work as an Isabelle wig. First I put it on my sister's head and determined what part I wanted up in the ponytail. I tied that out of the way while I worked on hiding the part at the back.


I selected 3 separate rows of wefts from the back of the wig--far enough down that they wouldn't be noticeable, and far enough apart that they wouldn't leave a bare patch--and I carefully picked them out with a seam ripper. I sewed this into a mega-weft (3 rows of wefts stacked on top of each other). That was then hand stitched onto the wig along the bottom of the gap. Using a pin I parted the wefts, making 2 go up into the ponytail and 1 go down into the back. Had I had more wefts at my disposal, I probably would have done 4 wefts, with 2 going down as the area under the part is a little bare. But it was still much better than when I started, so I considered it good enough!
At this point I tried it on my sister and gave the bangs, sides and back a little trim.


Normal white school glue is good for styling wigs, it dries clear and is washable; if you make a mistake, you can wash it out and try again.
Then my sister dyed the gradient into the ponytail. She did the colour to match the ears I made. She used a combination of brown india ink and rubbing alcohol (70%) to dilute it. She also apparently didn't look up any instructions before doing it. :/ This is the approximate method if you are interested!
After letting that dry sufficiently I artfully arranged the bun the way I wanted it, securing it with another hair elastic. The I hair-sprayed the bejeezuz out of it. (This is a technical term of course! ;D) I let it sit and air dry for several hours. Occasionally spraying it a bit more. Once it was fairly solid I added a touch more glue around the base to hold the ends of the bun in place.

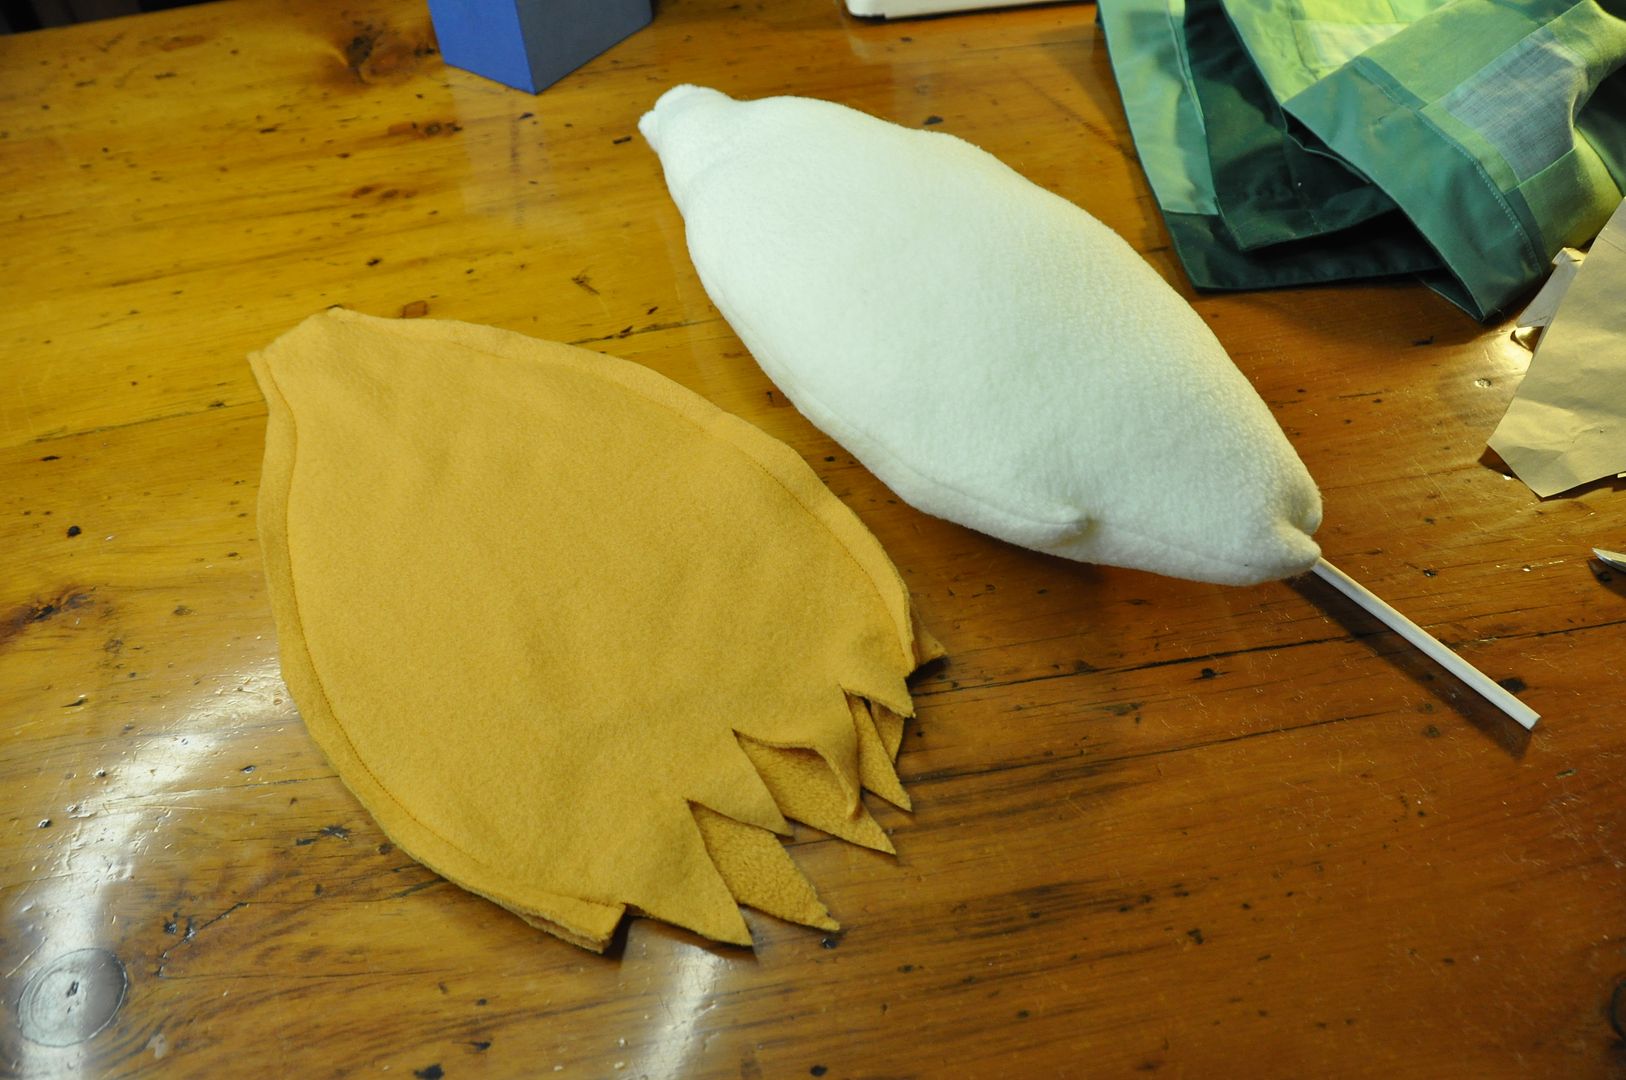
The ears are fleece which was bagged out and lightly stuffed. I closed the stuffing hole with a hand stitch and then stitched them to the wig.
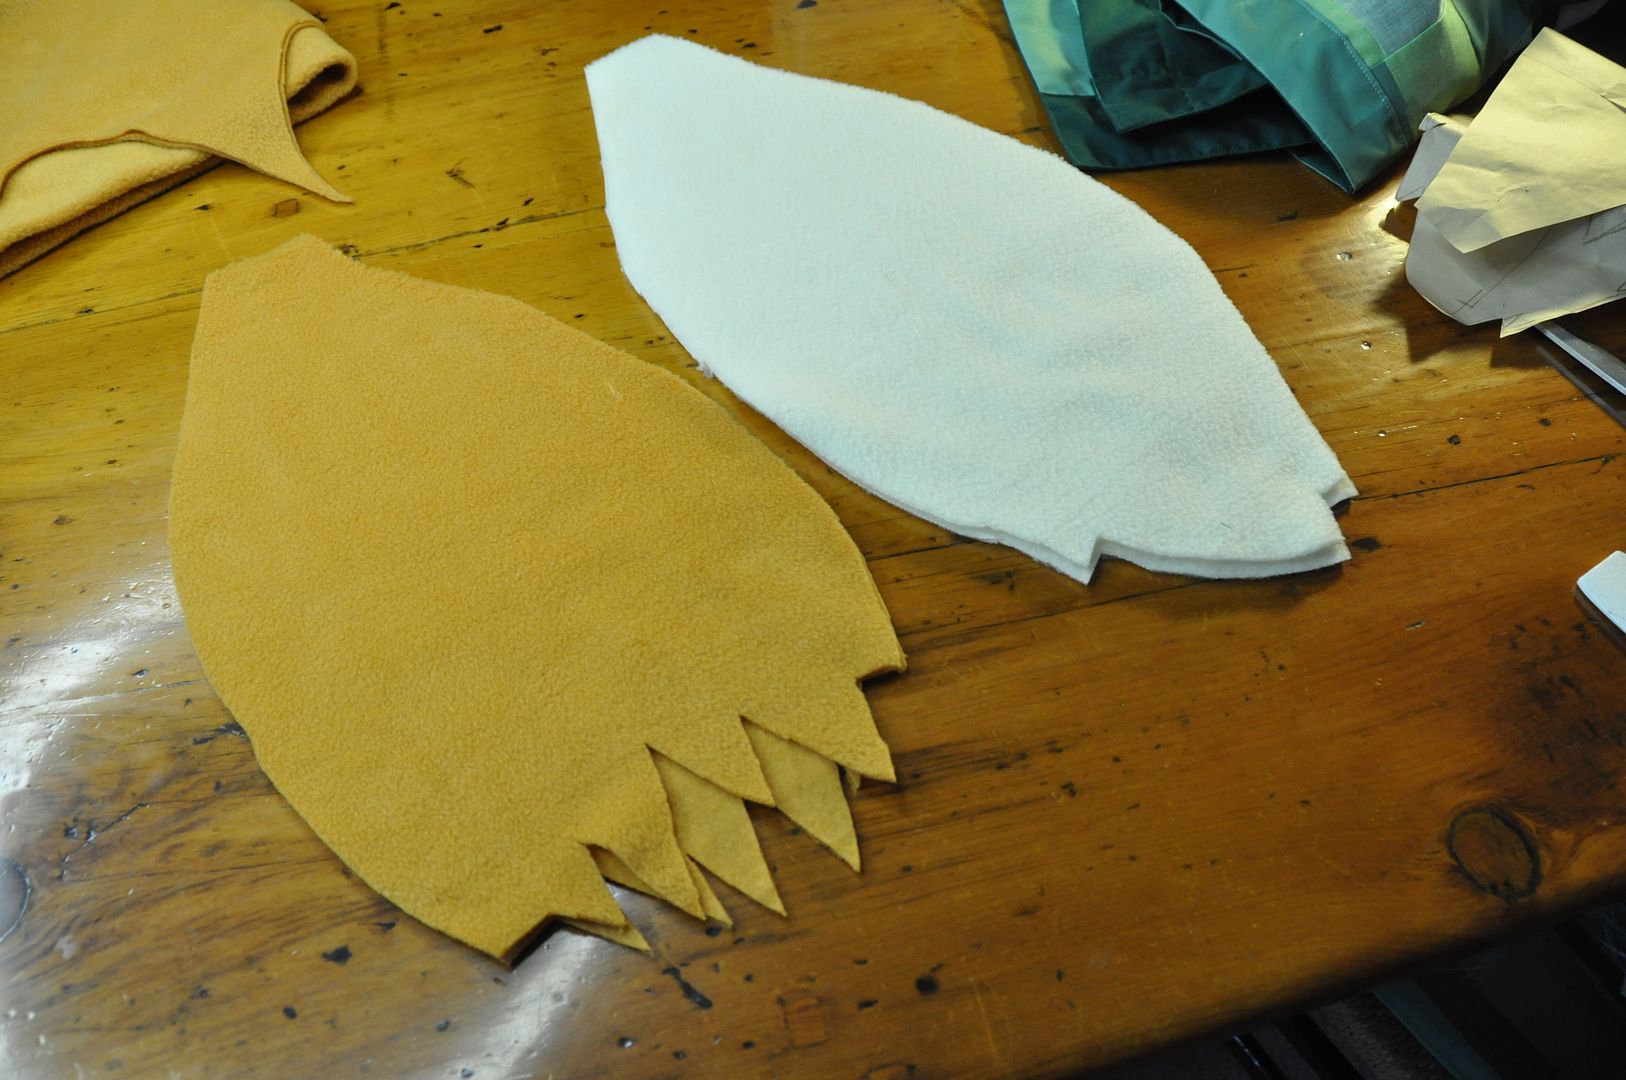
The gold/yellow colour matches the blonde wig and the tights, and the brown ears match the bun gradient like on the character. It was a bit of a challenge finding 2 complimenting colours that both matched the wig, and tights that would match the tail. But we managed it!

This piece was then attached to an elastic waistband, which was just slipped on over the skirt, under the vest. And presto! A cute tail!
No comments:
Post a Comment