
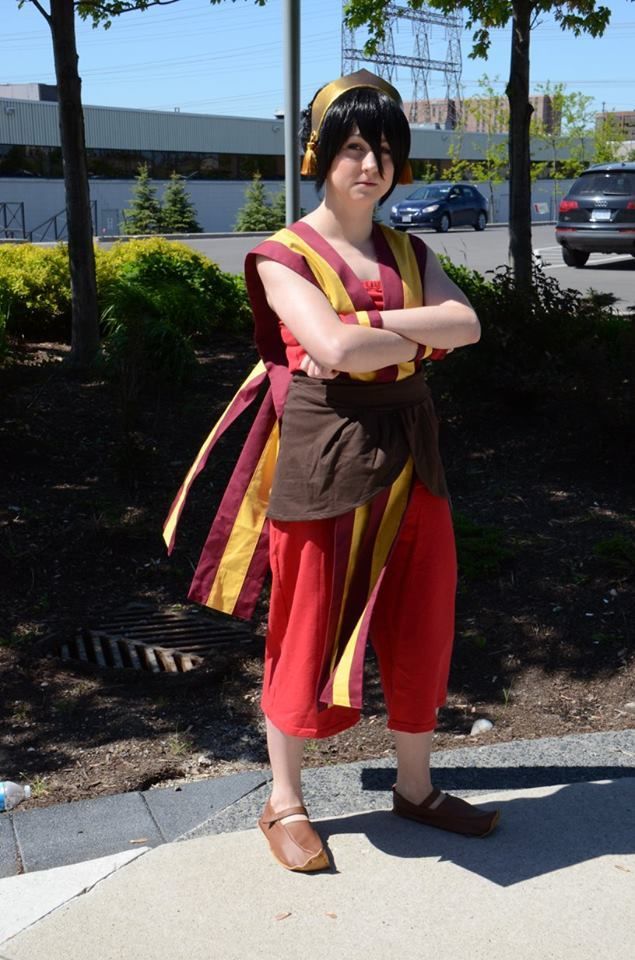
Toph Beifong is one of my favourite characters from The Last Airbender. She is so very sarcastic and a genuine tough-guy. A welcome addition to the group dynamic in season 2. I've always wanted to do a costume from this series, but I had never made time for it. I really love the Fire Nation outifts the best aesthetically, though I've always had my eye on doing either one of the Kiyoshi warriors or Ba Sing Se costumes... So many good choices. Perhaps someday...
As I said in my previous post, I actually started this costume last summer, but after many difficulties with the wig I didn't finish it. This is the part of the costume that I constructed and finished last year for Otakon.
Aside from the extremely heavy wig, the rest of this costume is super comfy. I decided to make it primarily out of stretch fabrics.

The tube top was made from two pieces--a front and back--that were narrower at the waist.
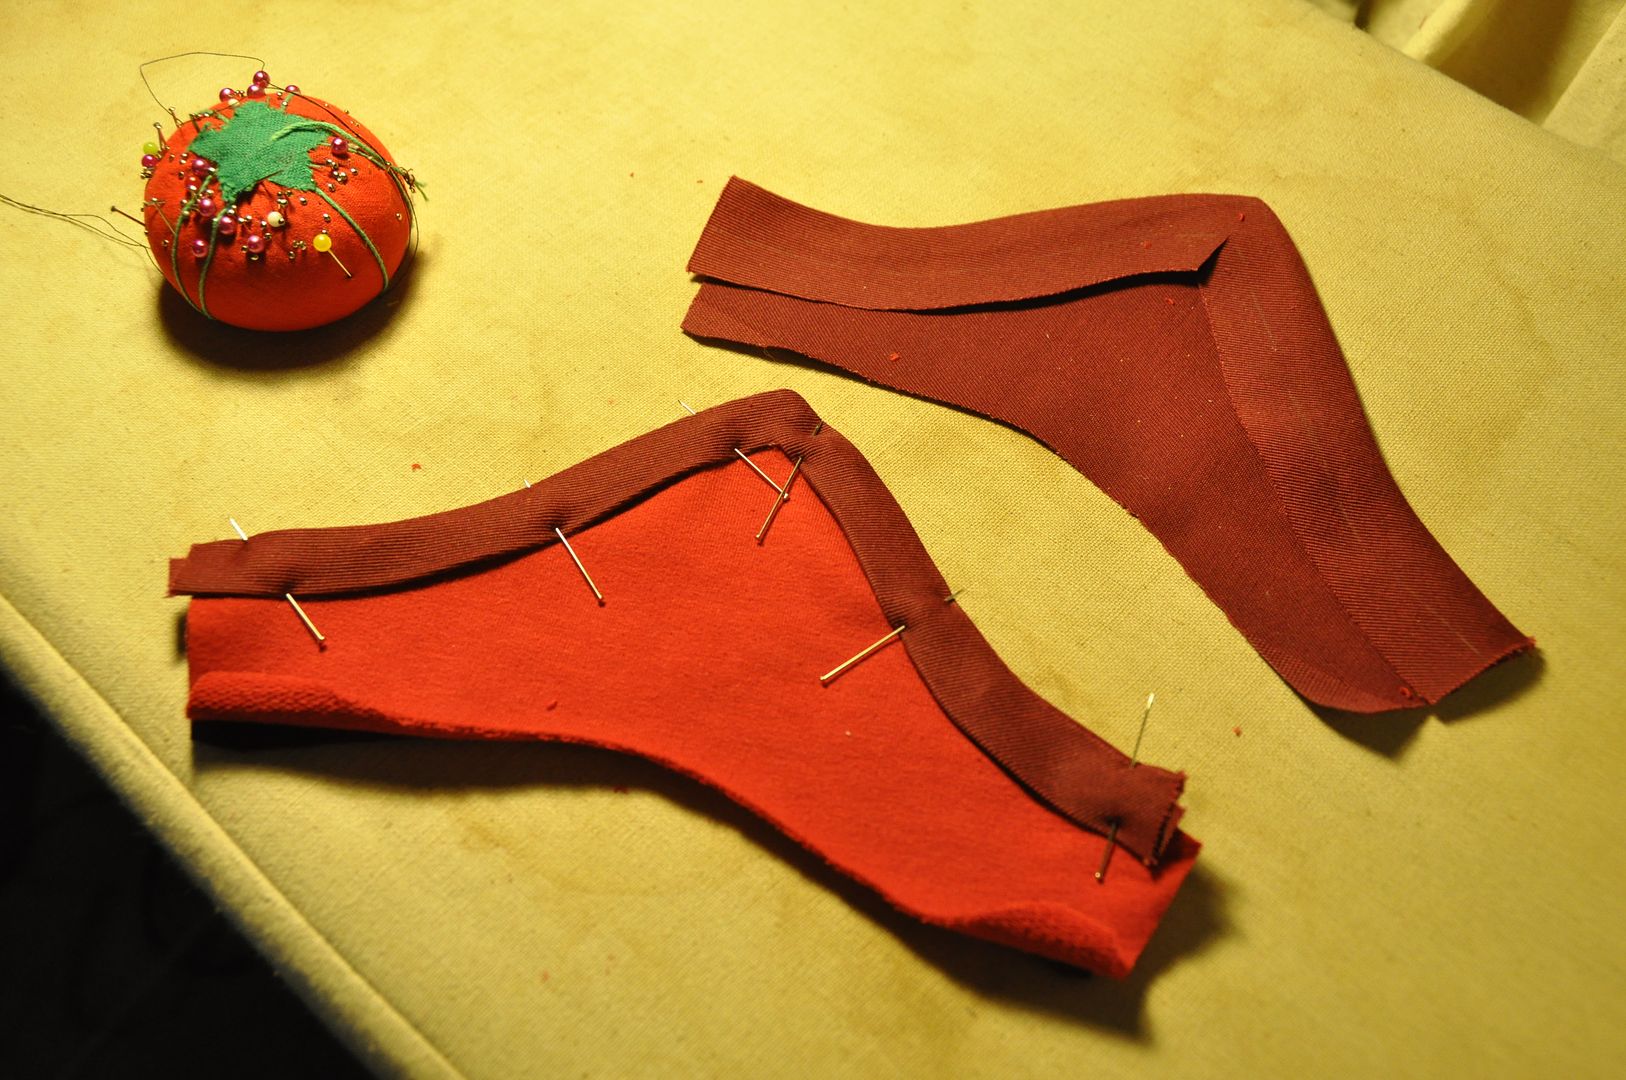
The waist wrap I draped to created the pattern. I pleated the fabric along the front overlap. The waistband for it was folded in half and tapered to a point at each end.
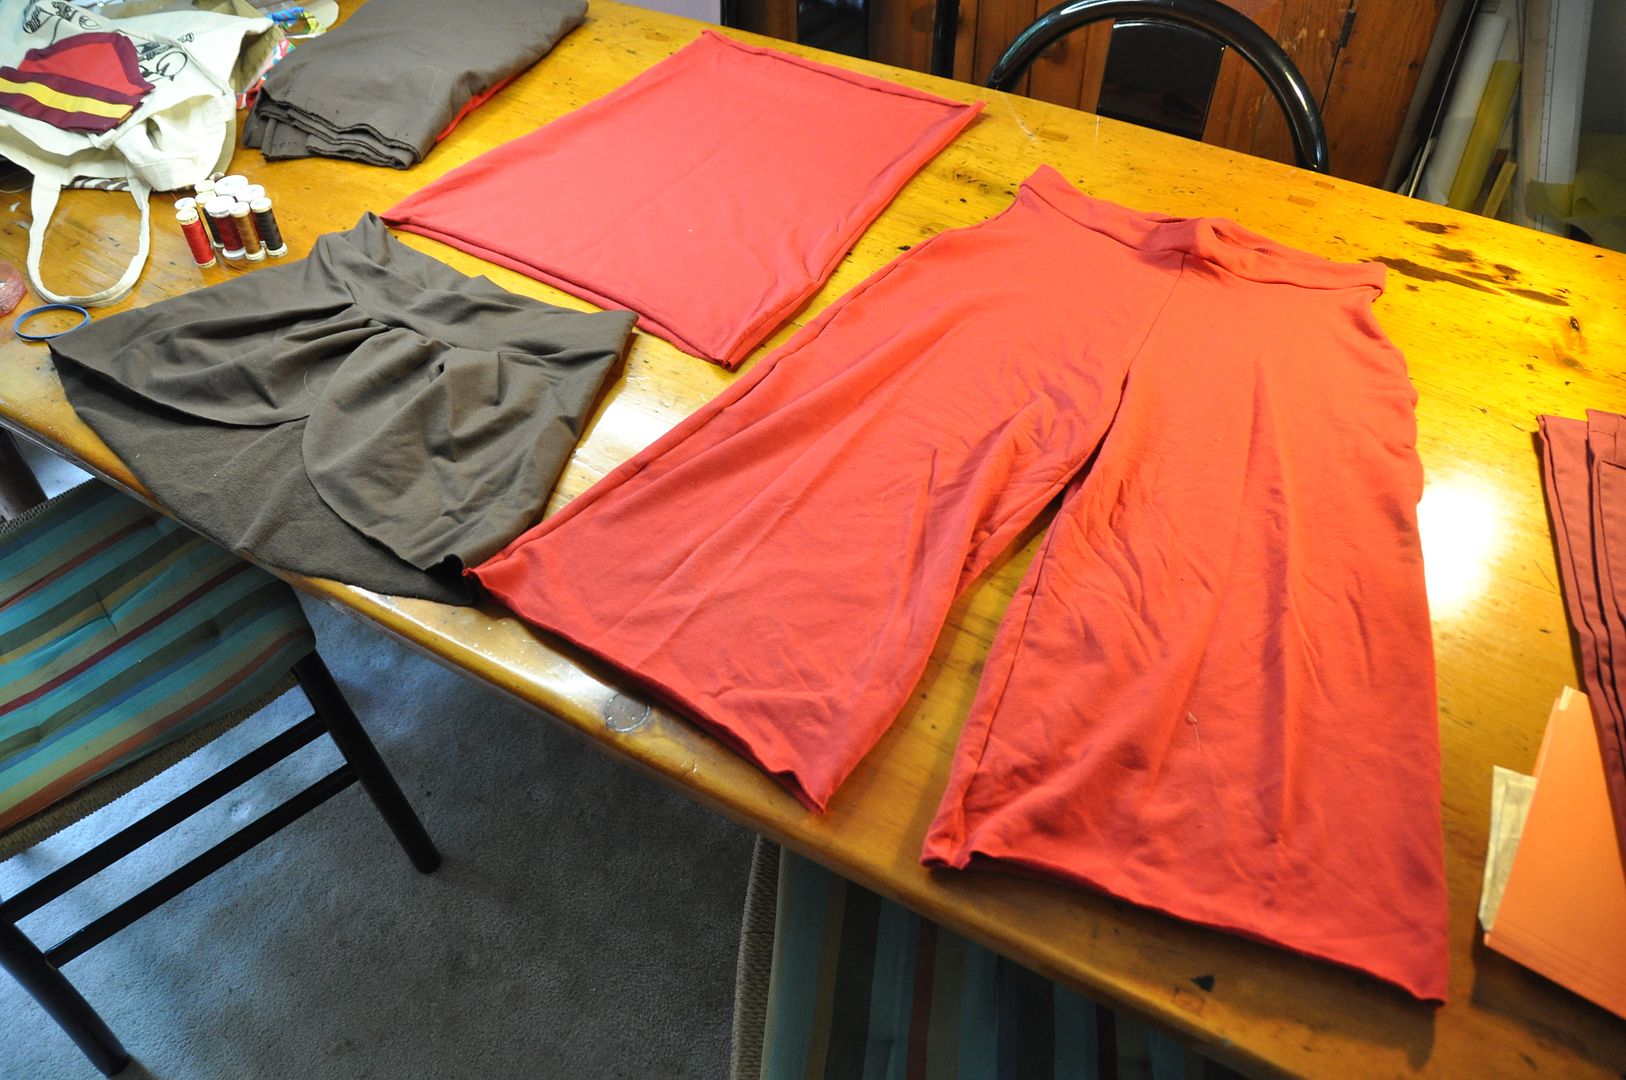 Because I lack a serger, after cutting out all my pieces I went to visit my friends Jen and Amanda--AKA Mai Sheri and Elemental--who were kind enough to let me use theirs! (I paid them in homemade cookies.) I assembled the pants, and tube top with relative ease. Pinning the waistband to the wrap this was serged together in a circle on the inside. Then using a zig-zag stitch I hemmed all the garments.
I inserted an elastic in the waistband of the pants and the top of the tube top. All of these pieces stretch to fit and have no closures.
 For the striped pieces draped over the shoulders, they are simply long rectangles. I was using up leftover fabric from another project. The yellow stripe was aligned with the center of one half, then top stitched down. Then I folded them right sides together and sewed along the open edge. Then I flipped them right way out and finished the ends. I tacked them together at the front and back where they overlap so they would stay in place.
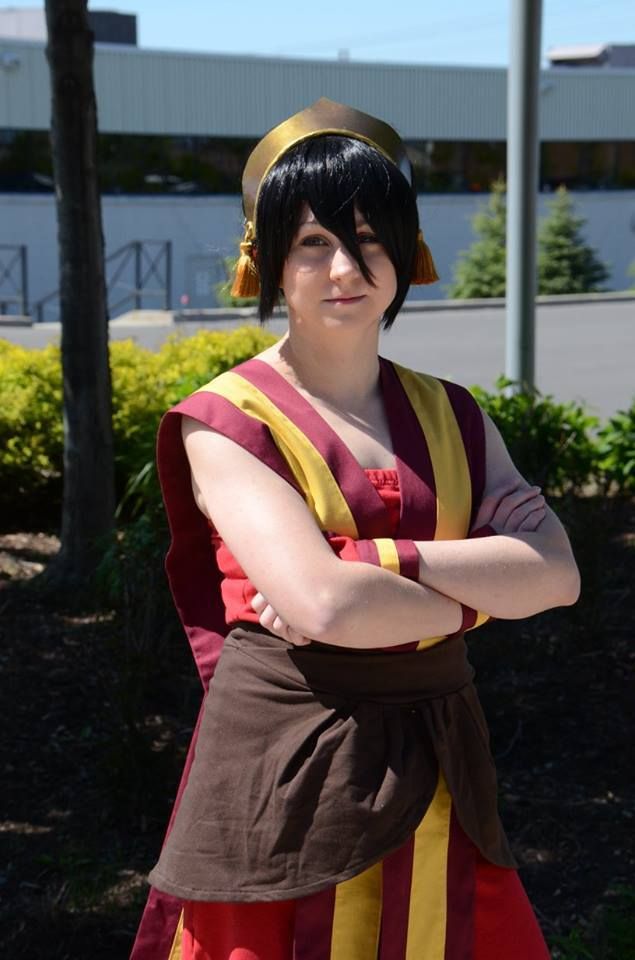
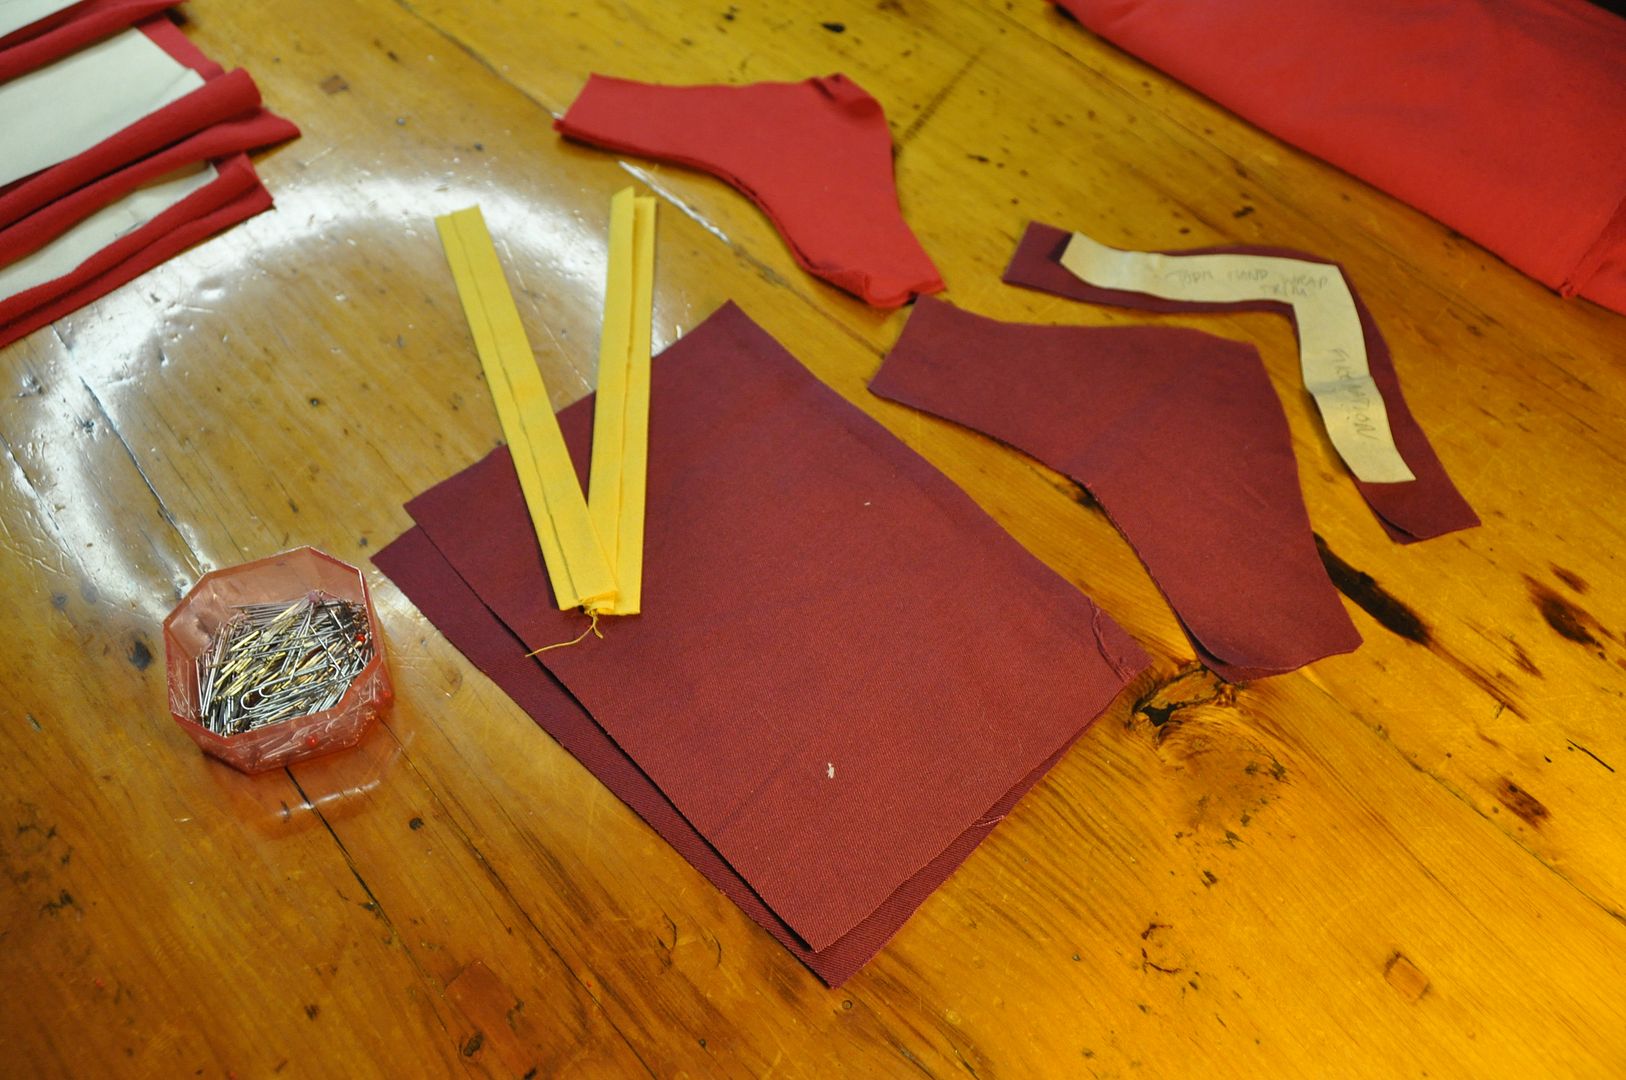 The last piece to create was the cuffs. I used paper to mock up a pattern. Then cut out pieces in the various colours.
For the pointed piece I sewed the backing and the top edge piece right sides together.

Stay tuned for part 3!
No comments:
Post a Comment