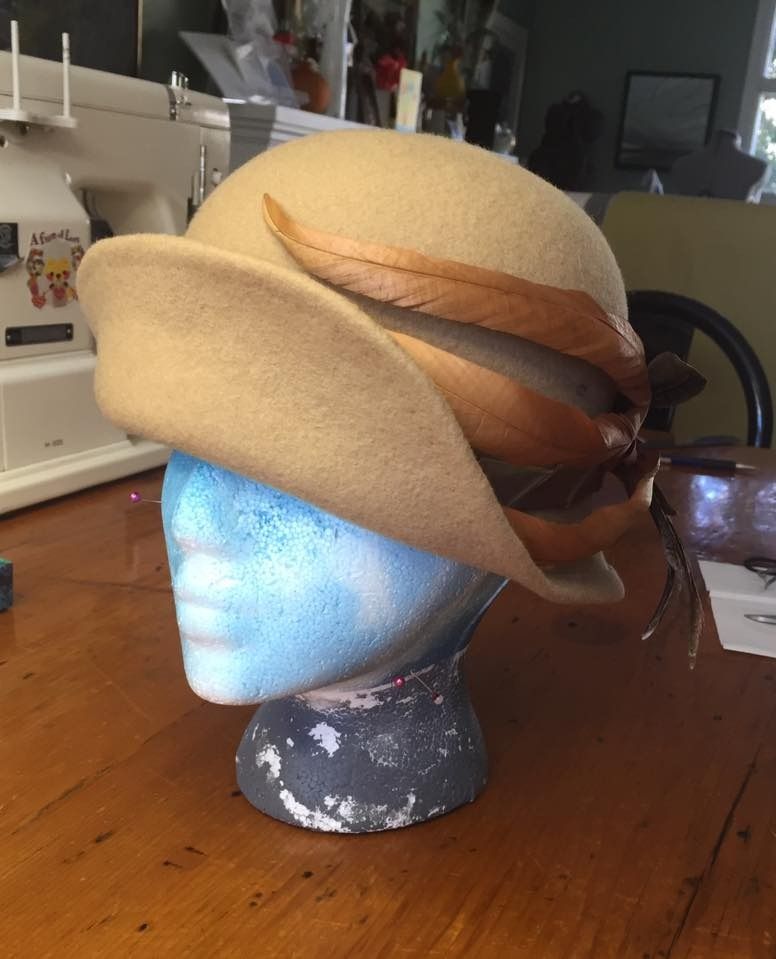
 Let's take a look at my final millinery project: a blocked felt hat! I decided to do a simple cloche hat decorated with feathers.
To make a blocked felt hat, you buy a "hood" or "capeline" which is 100% wool. (Or you can buy an 100% wool hat that has already been shaped and reshape it. You can get them at H&M.)
You heat up a tea kettle that doesn't have an automatic shut off (so it will keep boiling--just make sure it doesn't run out of water, because you need the steam and to not set anything on fire). You place the hood/capeline over the steam spout and let it steam. It should have condensation on the outside and it will be really hot when it is ready for shaping. Use tongs to take the hood/capeline off the steam and place it over your desired block. I used a round crown top. Then you stretch it over the block, tie it tight and pin it in place. Let it dry for 24 hours.


For my cloche, the crown and brim are all one piece. I was pressed for time with moving and was going to miss the last class, so doing a one piece hat was necessary--but also, I really like this style anyway.
If I were to do a separate blocked brim, at this point I would have carefully cut off the brim with an exacto-knife and blocked it on a brim block. For a one piece hat, I applied more steam and shaped the brim while the crown was still tied down on the block. I used rolled up pieces of fabric to shape around and let it sit while it dried. During this time I trimmed off some of the excess felt from the brim to get it closer to the finished shape that I wanted.
When it was dry, I removed it from the block and set about finishing the edge of the brim. I decided to do a simple folded edge finish. I marked my finished edge and carefully trimmed the brim, leaving a 1/2" fold allowance. I folded it over, using bulldog clips to hold it in place so I could baste it. Then I carefully ironed it before stitching it as invisibly as possible. I ironed it again after stitching. This helped to give it a crisper edge.
 Next I added the decorations and headband to the inside. I also gave it a label. I decided to accent it with more of that green silk I bought for the previous hat and feathers left over from my Forest Guardian costume. The goal is to stitch decorations on securely without making them look heavily stitched on,
I'm not too impressed with how the decorations turned out--specifically the feathers. I may replace them later. But I really love this shape--simple, yet elegant!
I've signed up for Millinery Part 2! So look forward to more hats, coming this fall! :D


No comments:
Post a Comment